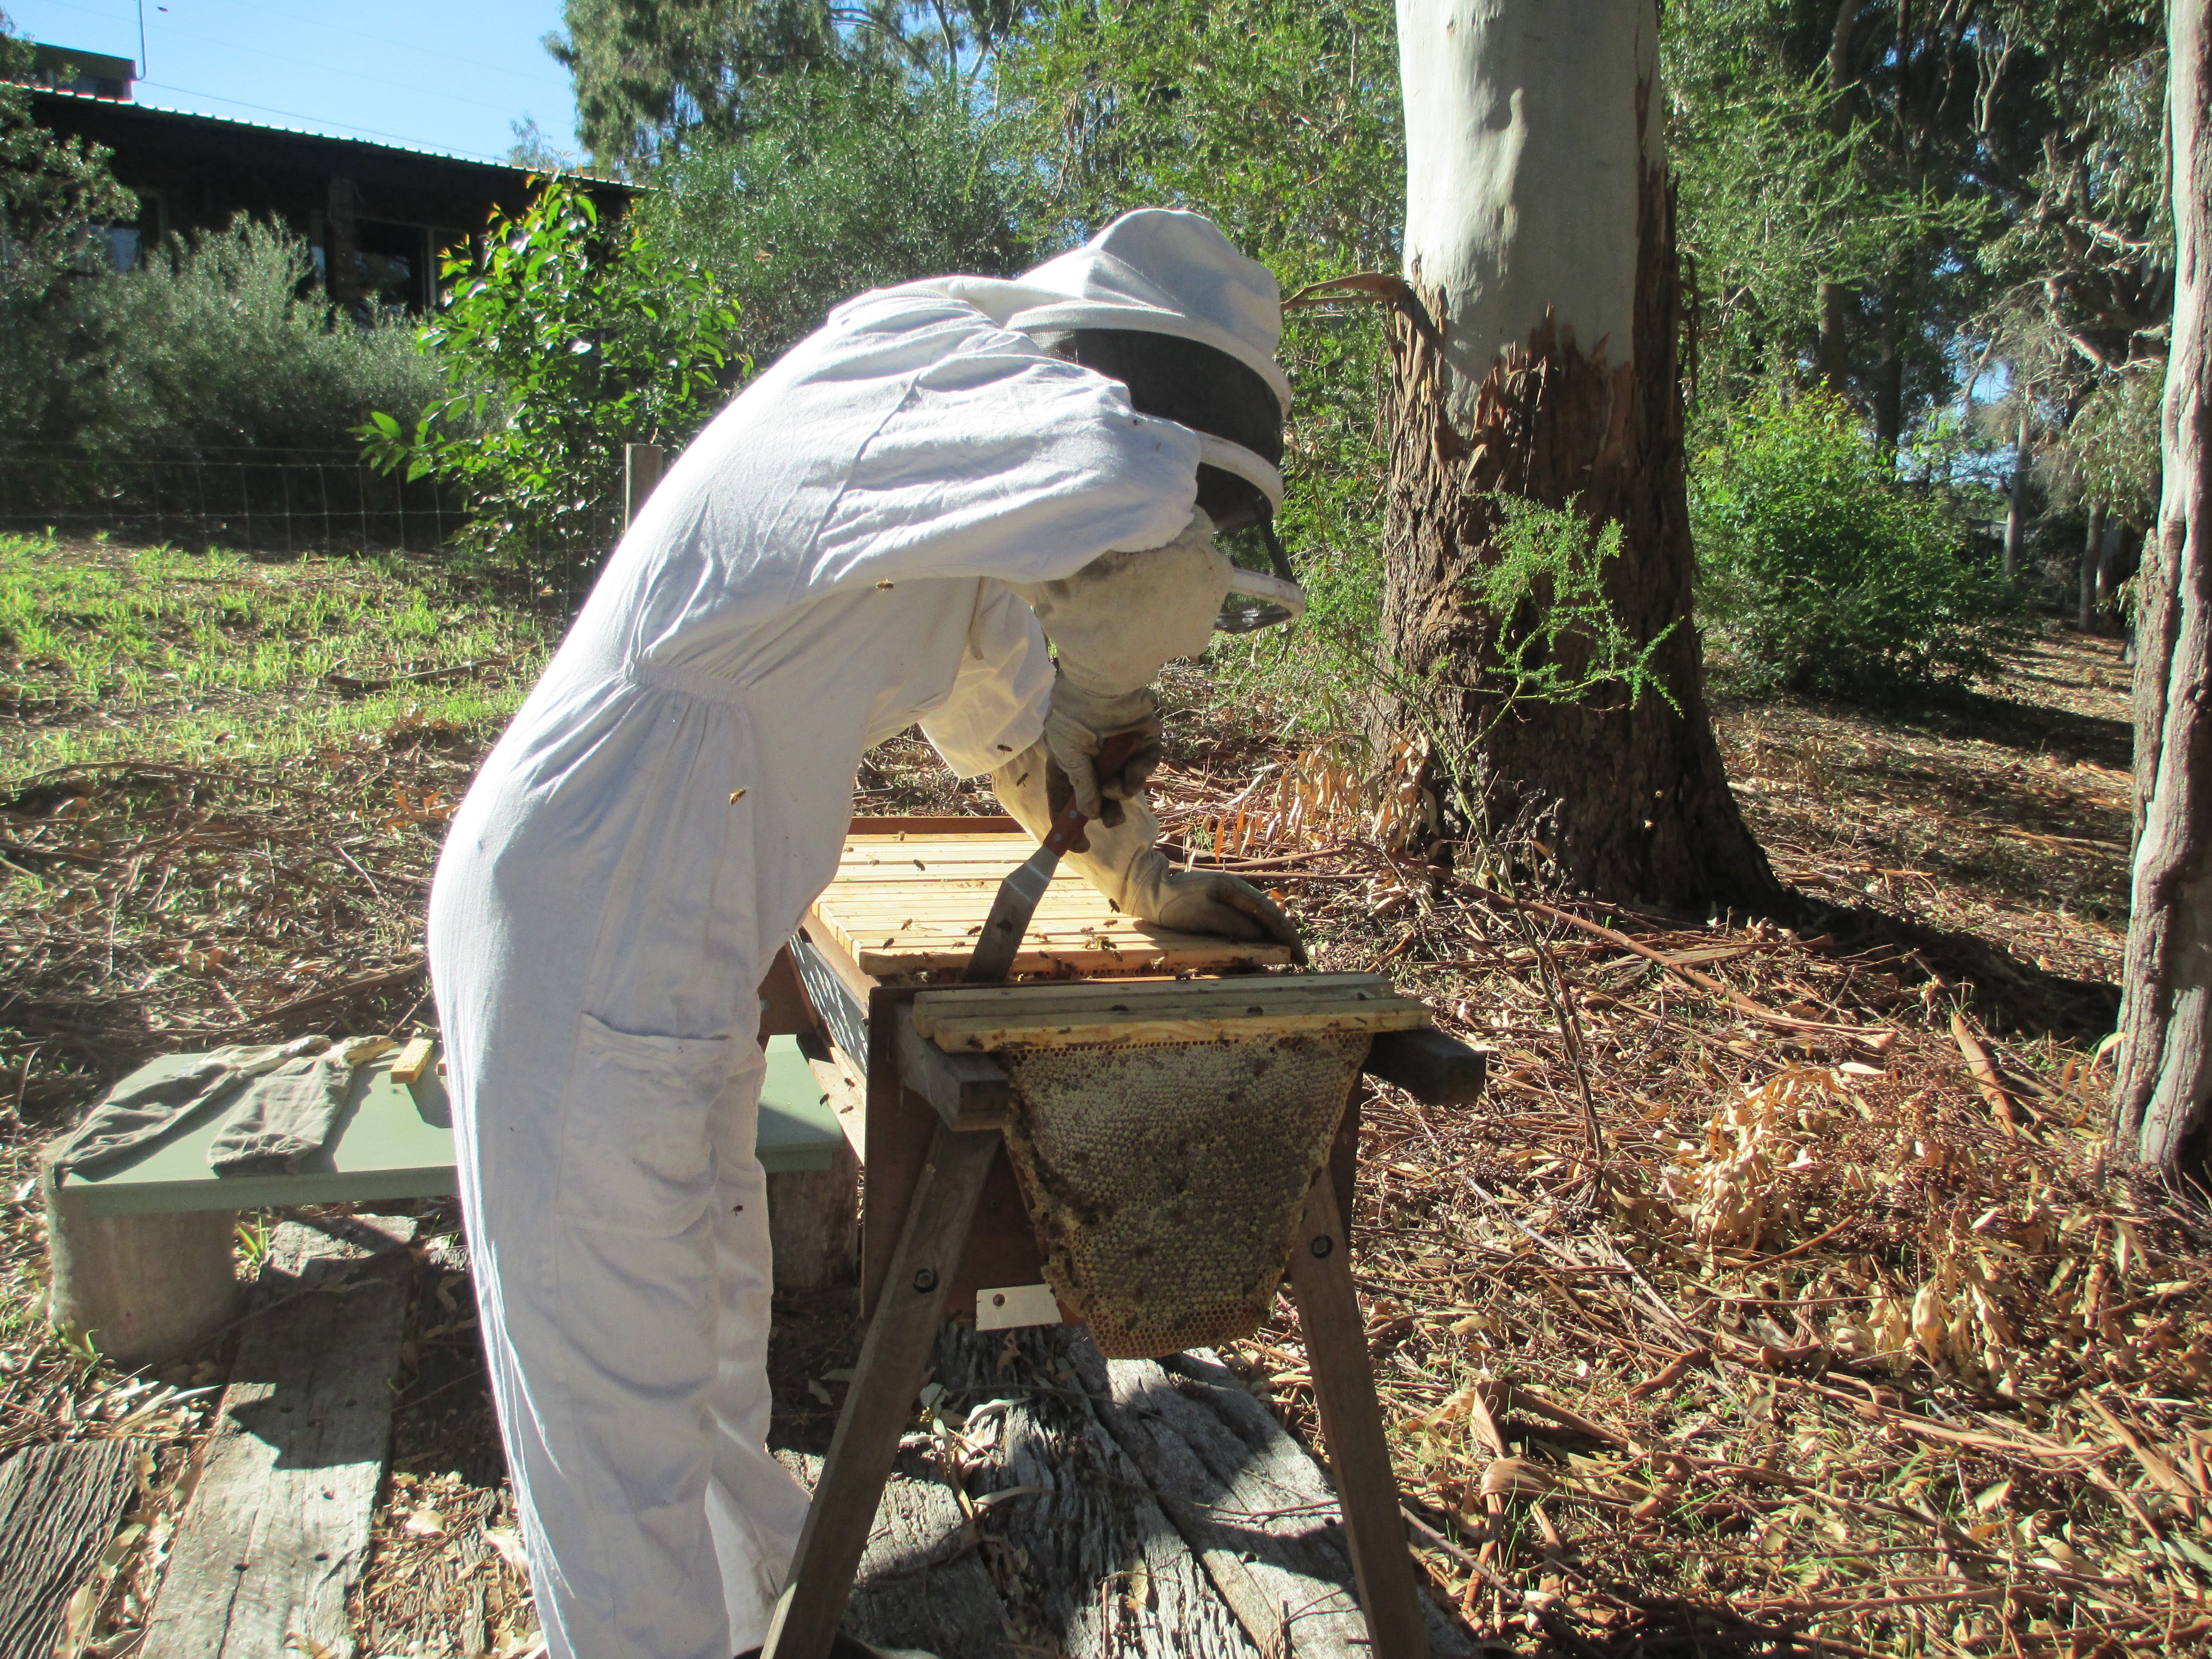
Having recently changed the kitchen hive to a Warre we have been keeping a close eye on it especially getting into our winter. A check last week revealed condensation inside the hive, and a little bit of mould and mildew. A quick google search revealed that a little bit of mould or mildew is not a huge problem as the bees will clean it up, if they are all fit and healthy. The problem though, is the condensation which causes it in the first place.
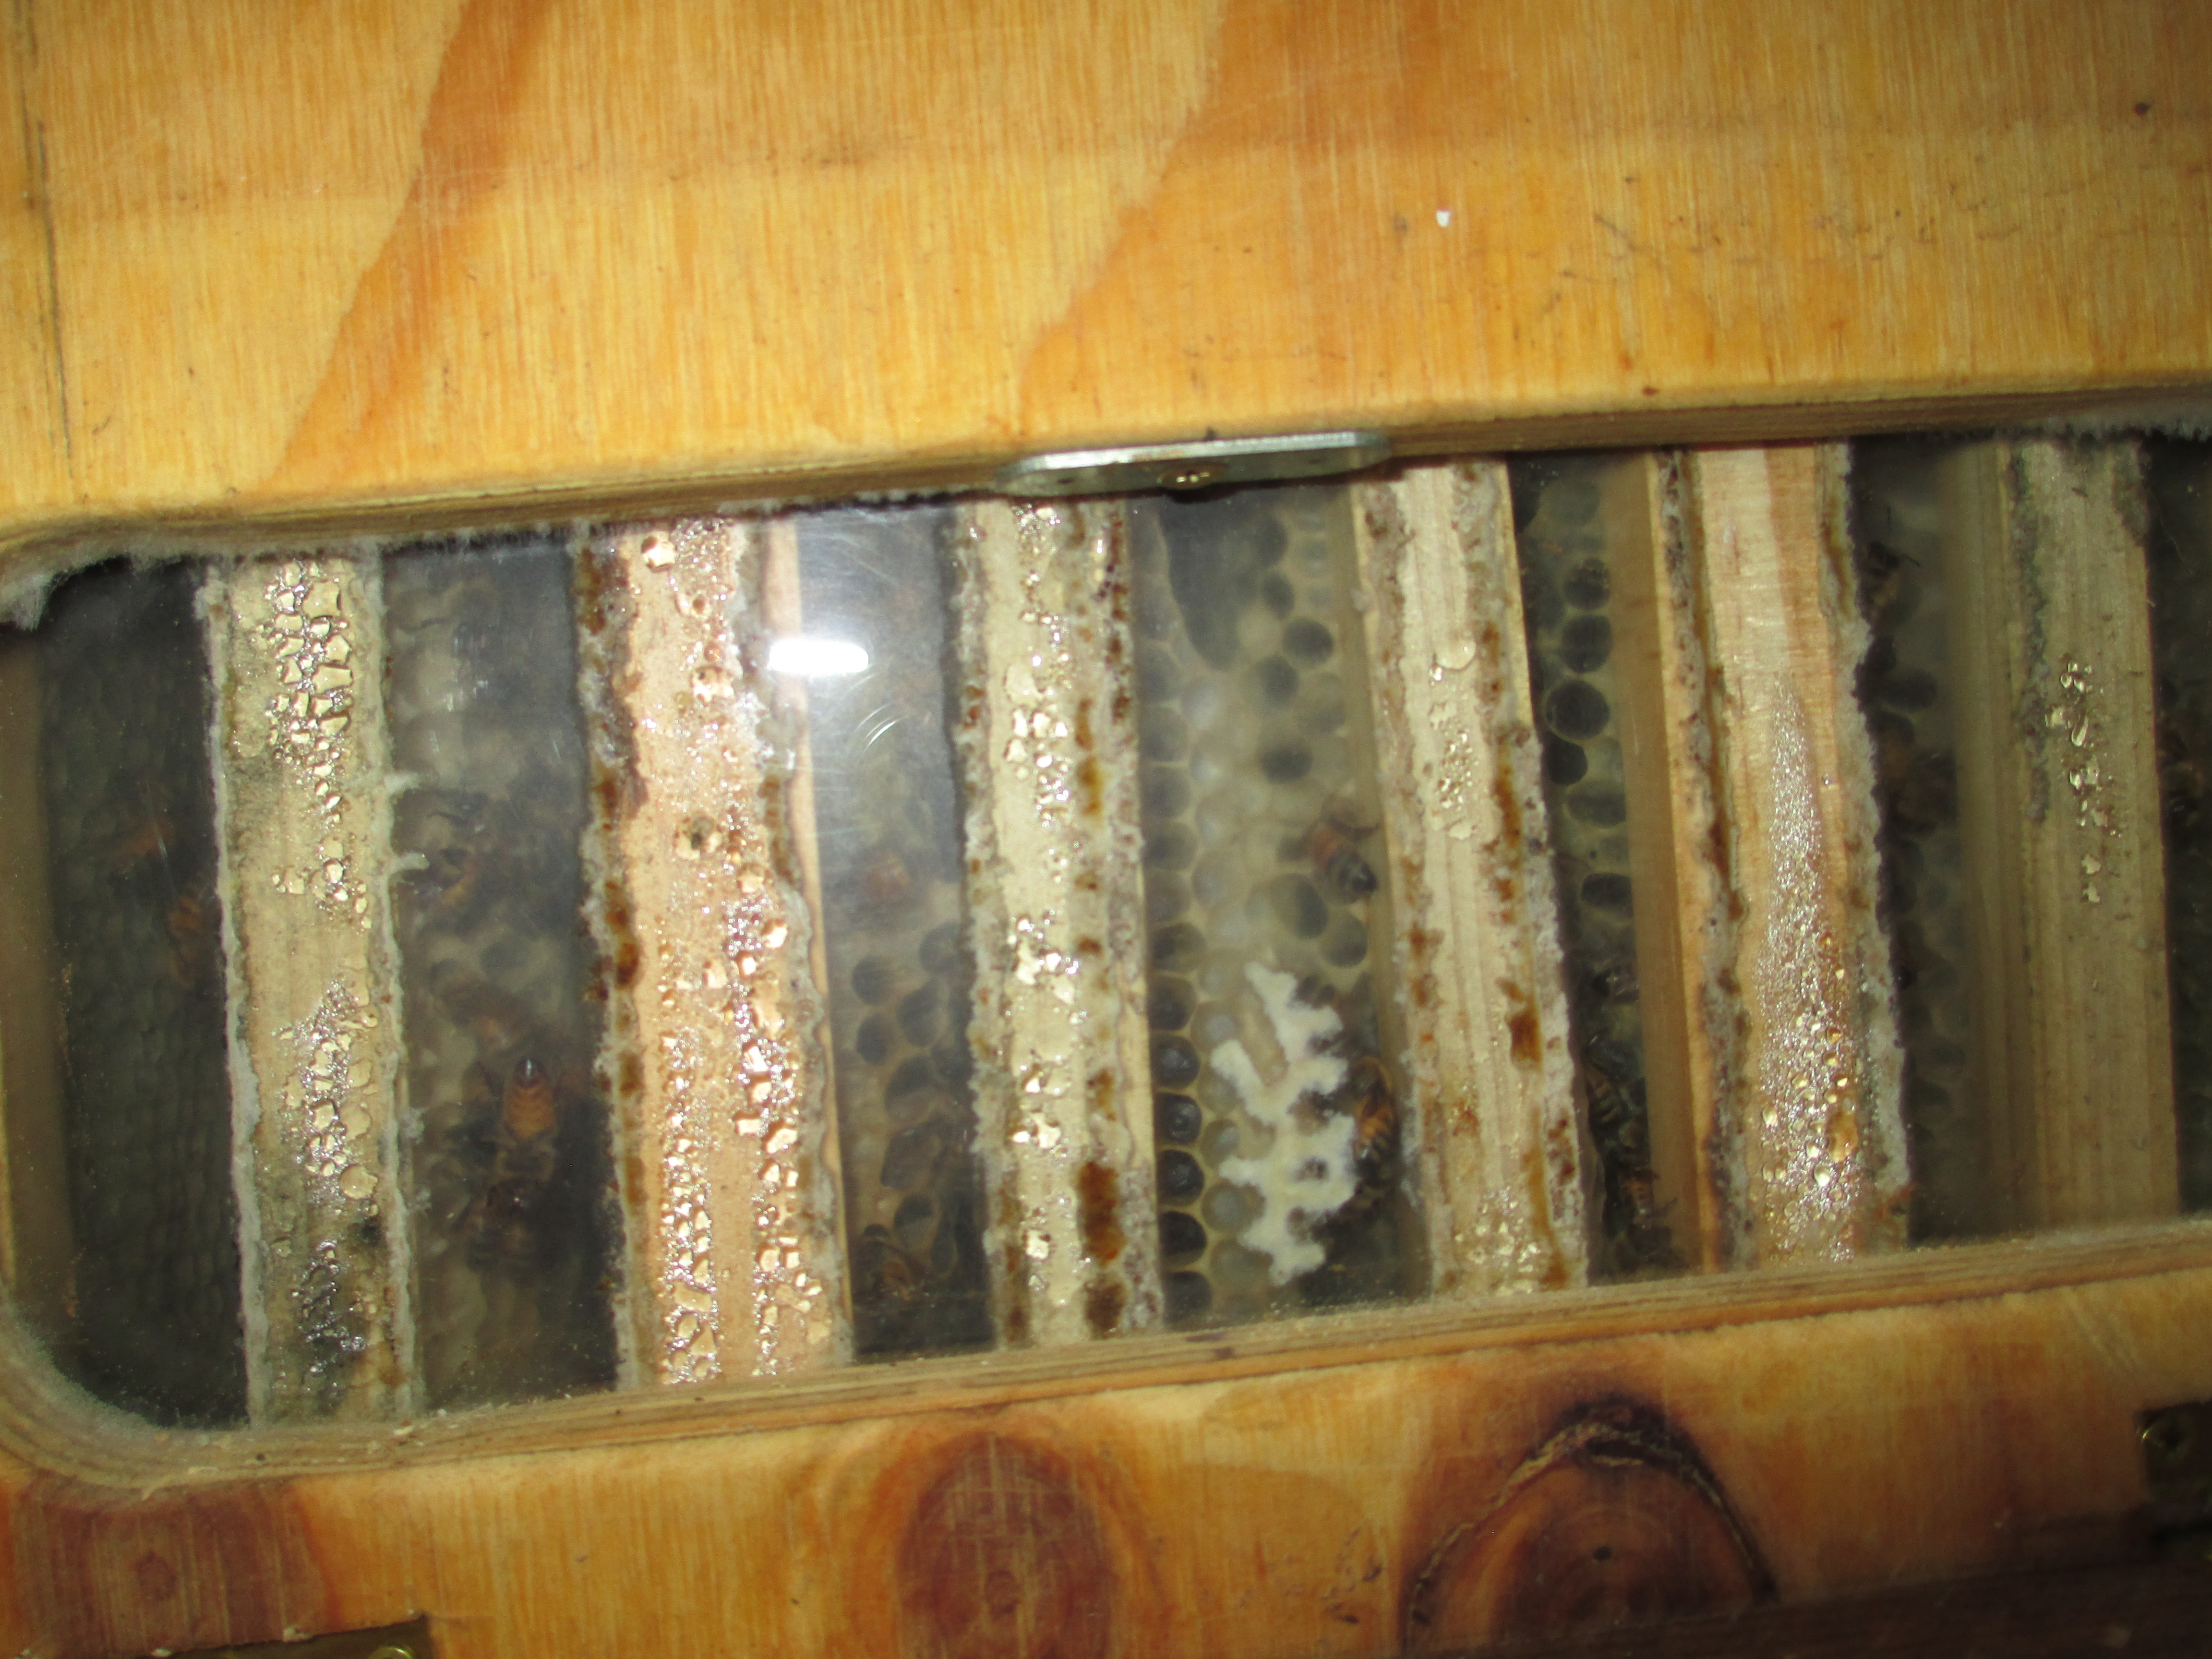
condensation inside the hive
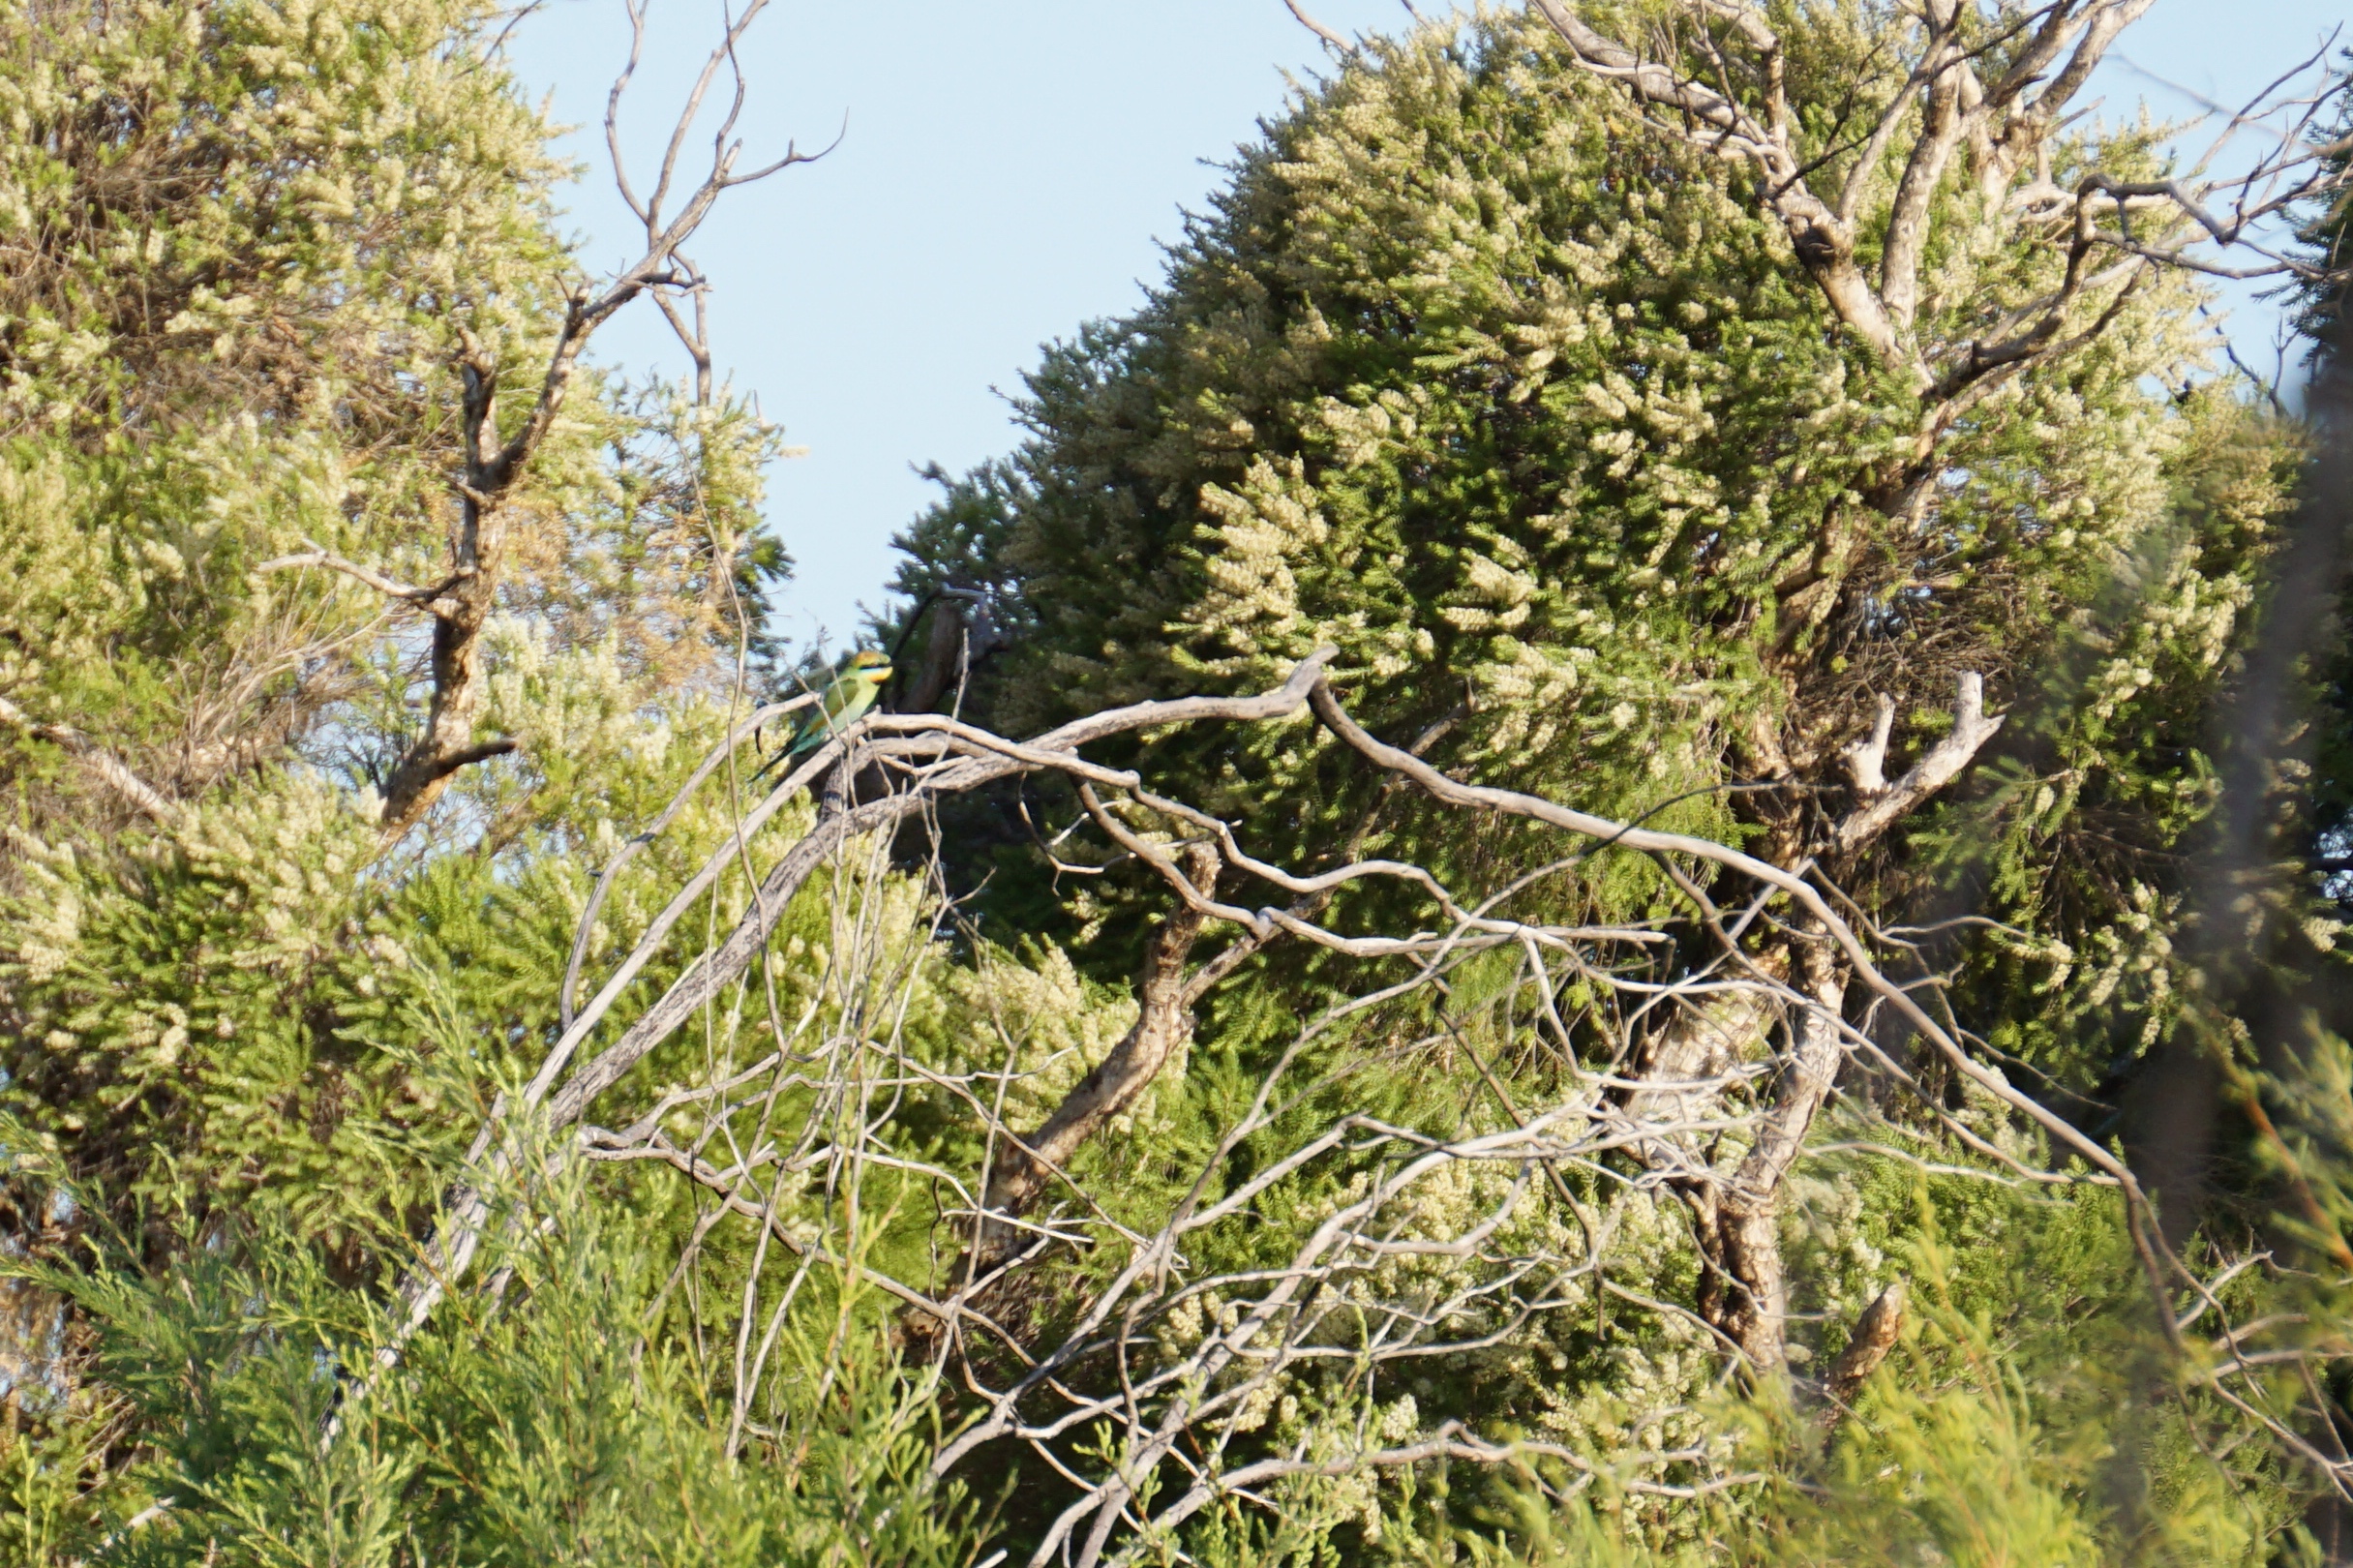
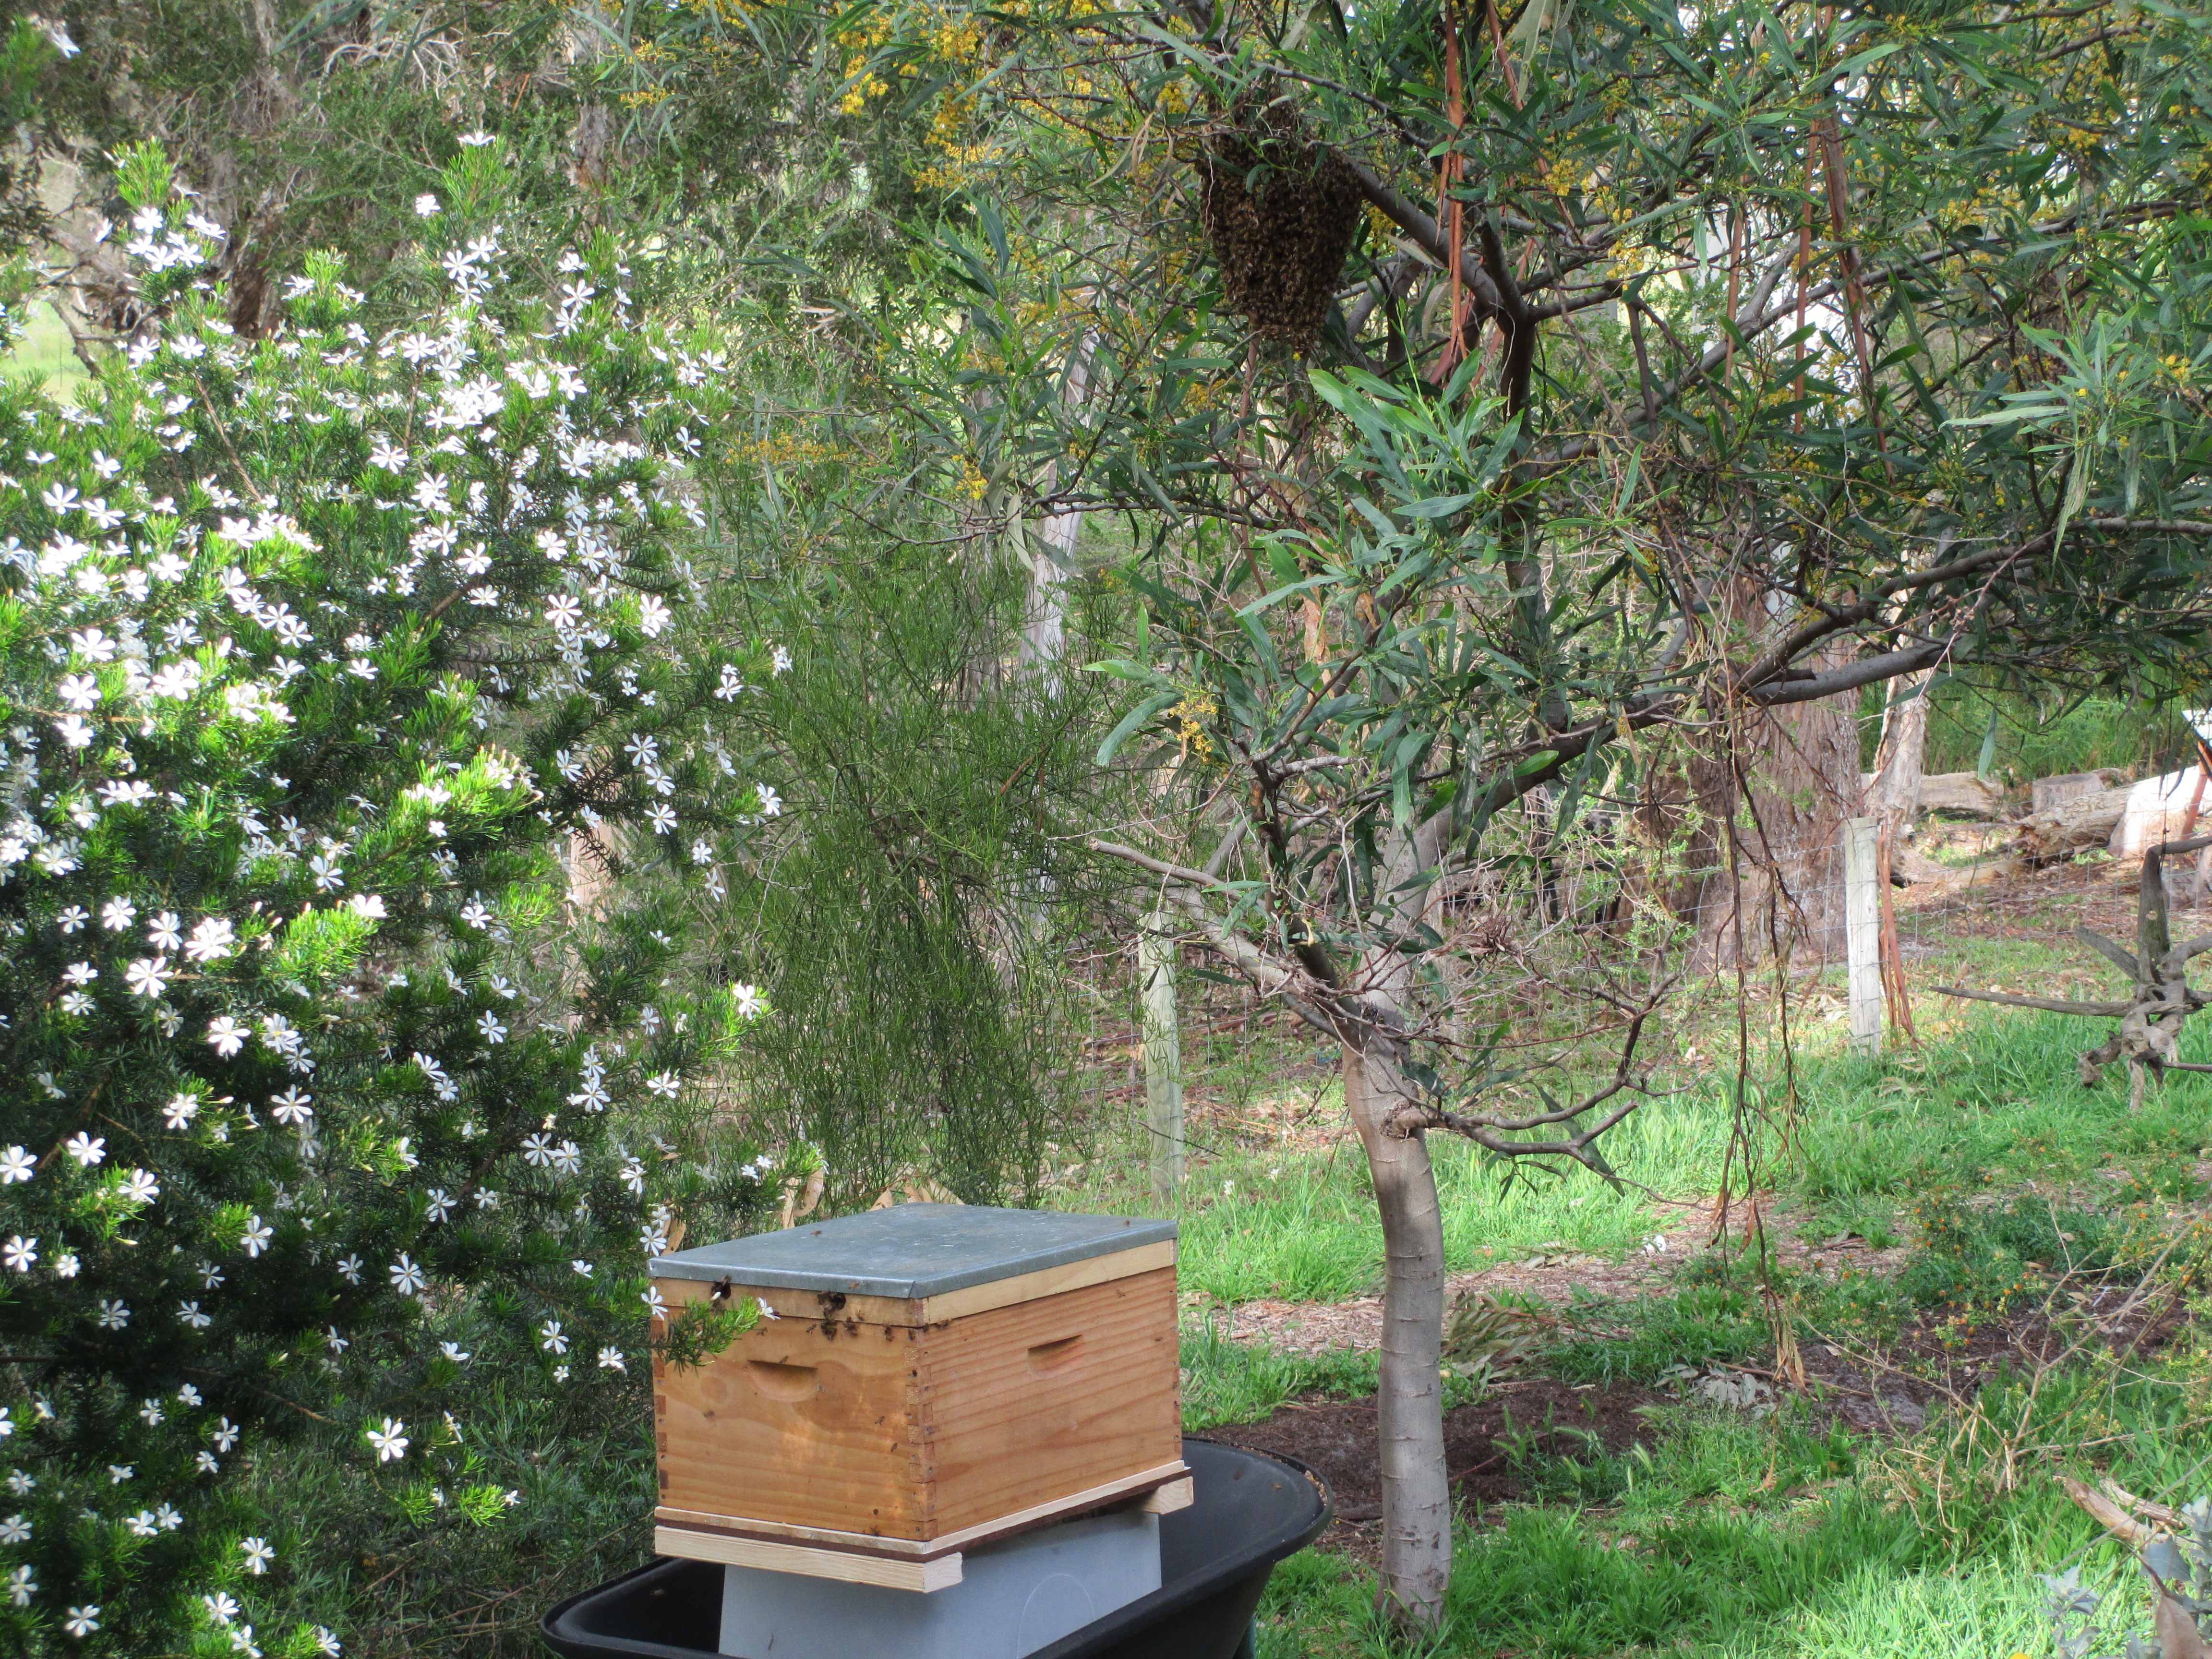
We realised that where the hive is it doesn’t get a lot of sun or air circulation. The Langstroth seemed to cope ok, but perhaps the different set up of the Warre makes it more susceptible. Anyway, this discovery led us to look for a different location and a way of moving the hive. There is a lot of information now on moving a hive, without the need to stick to the old ‘less than a metre or more than 3 kilometres’ rule, so we chose a spot about 100metres away, not far from the Topbar hive where the Warre can face ENE and get a good amount of winter sun to help dry it out, we hope!
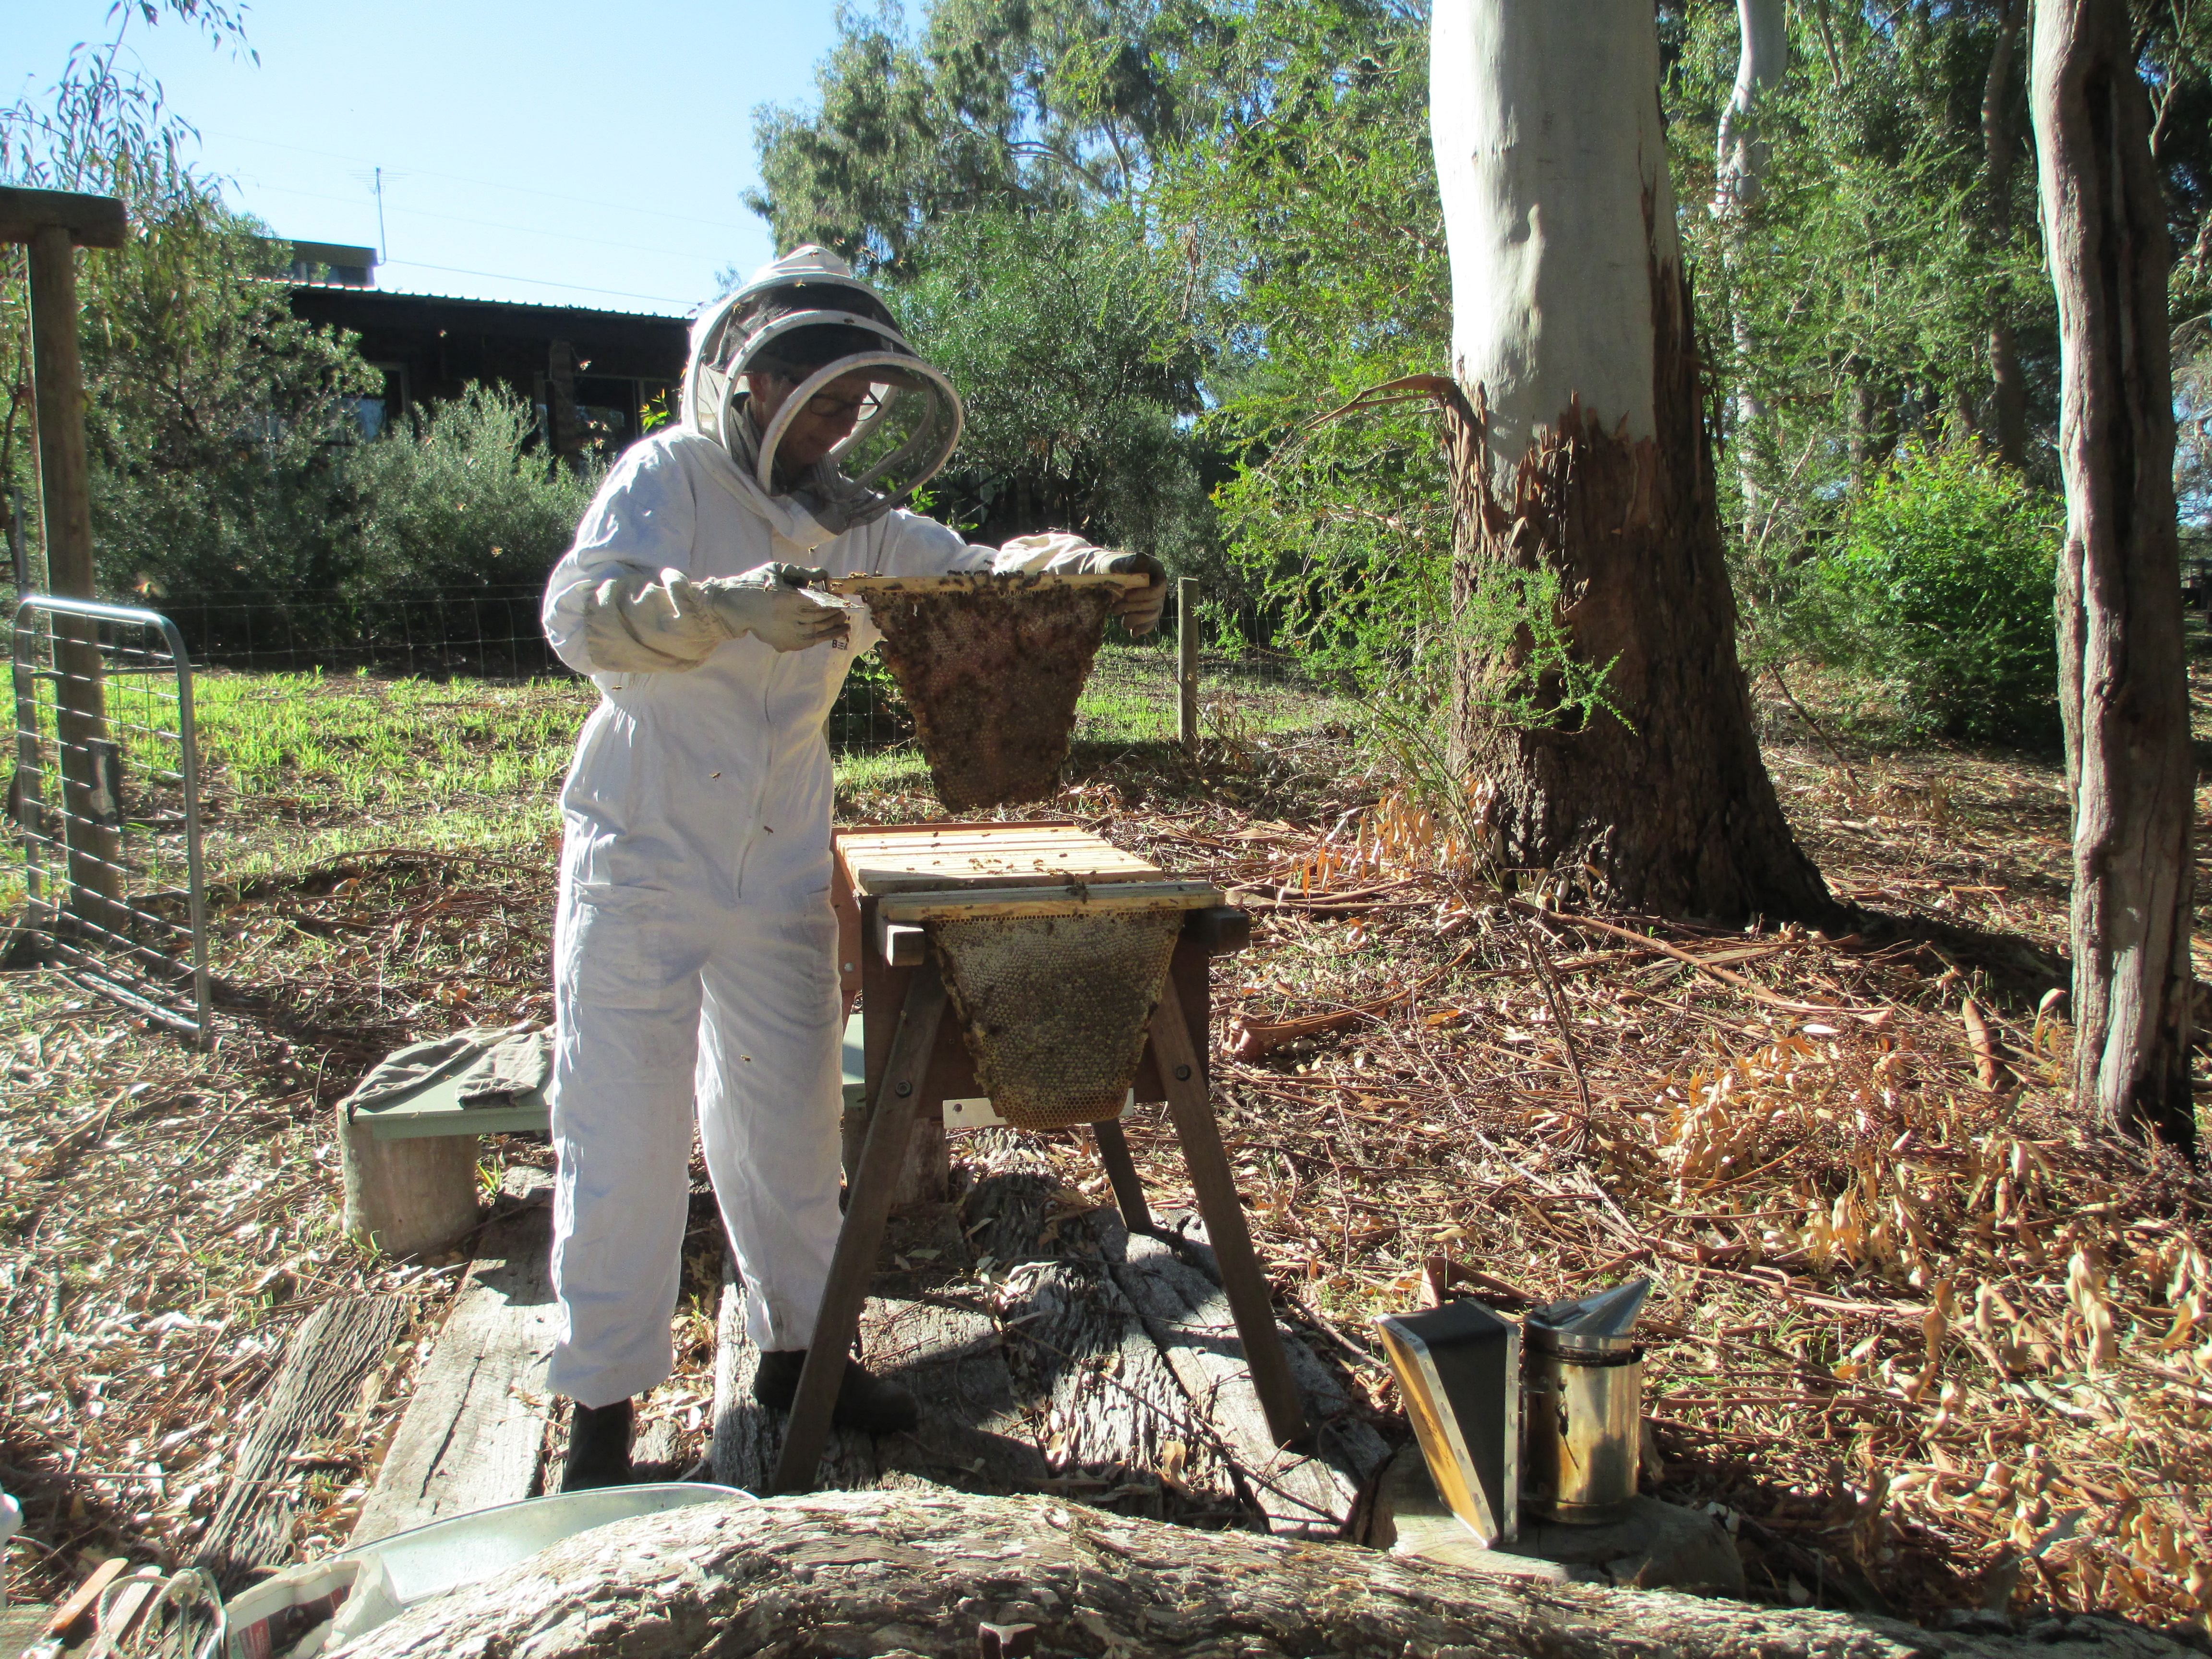
After dark, the hive entrance was covered with mesh to allow for ventilation but no bees, and the hive was strapped to keep all the boxes in place. Next morning we loaded the hive onto a trolley and moved to its new, prepared location.
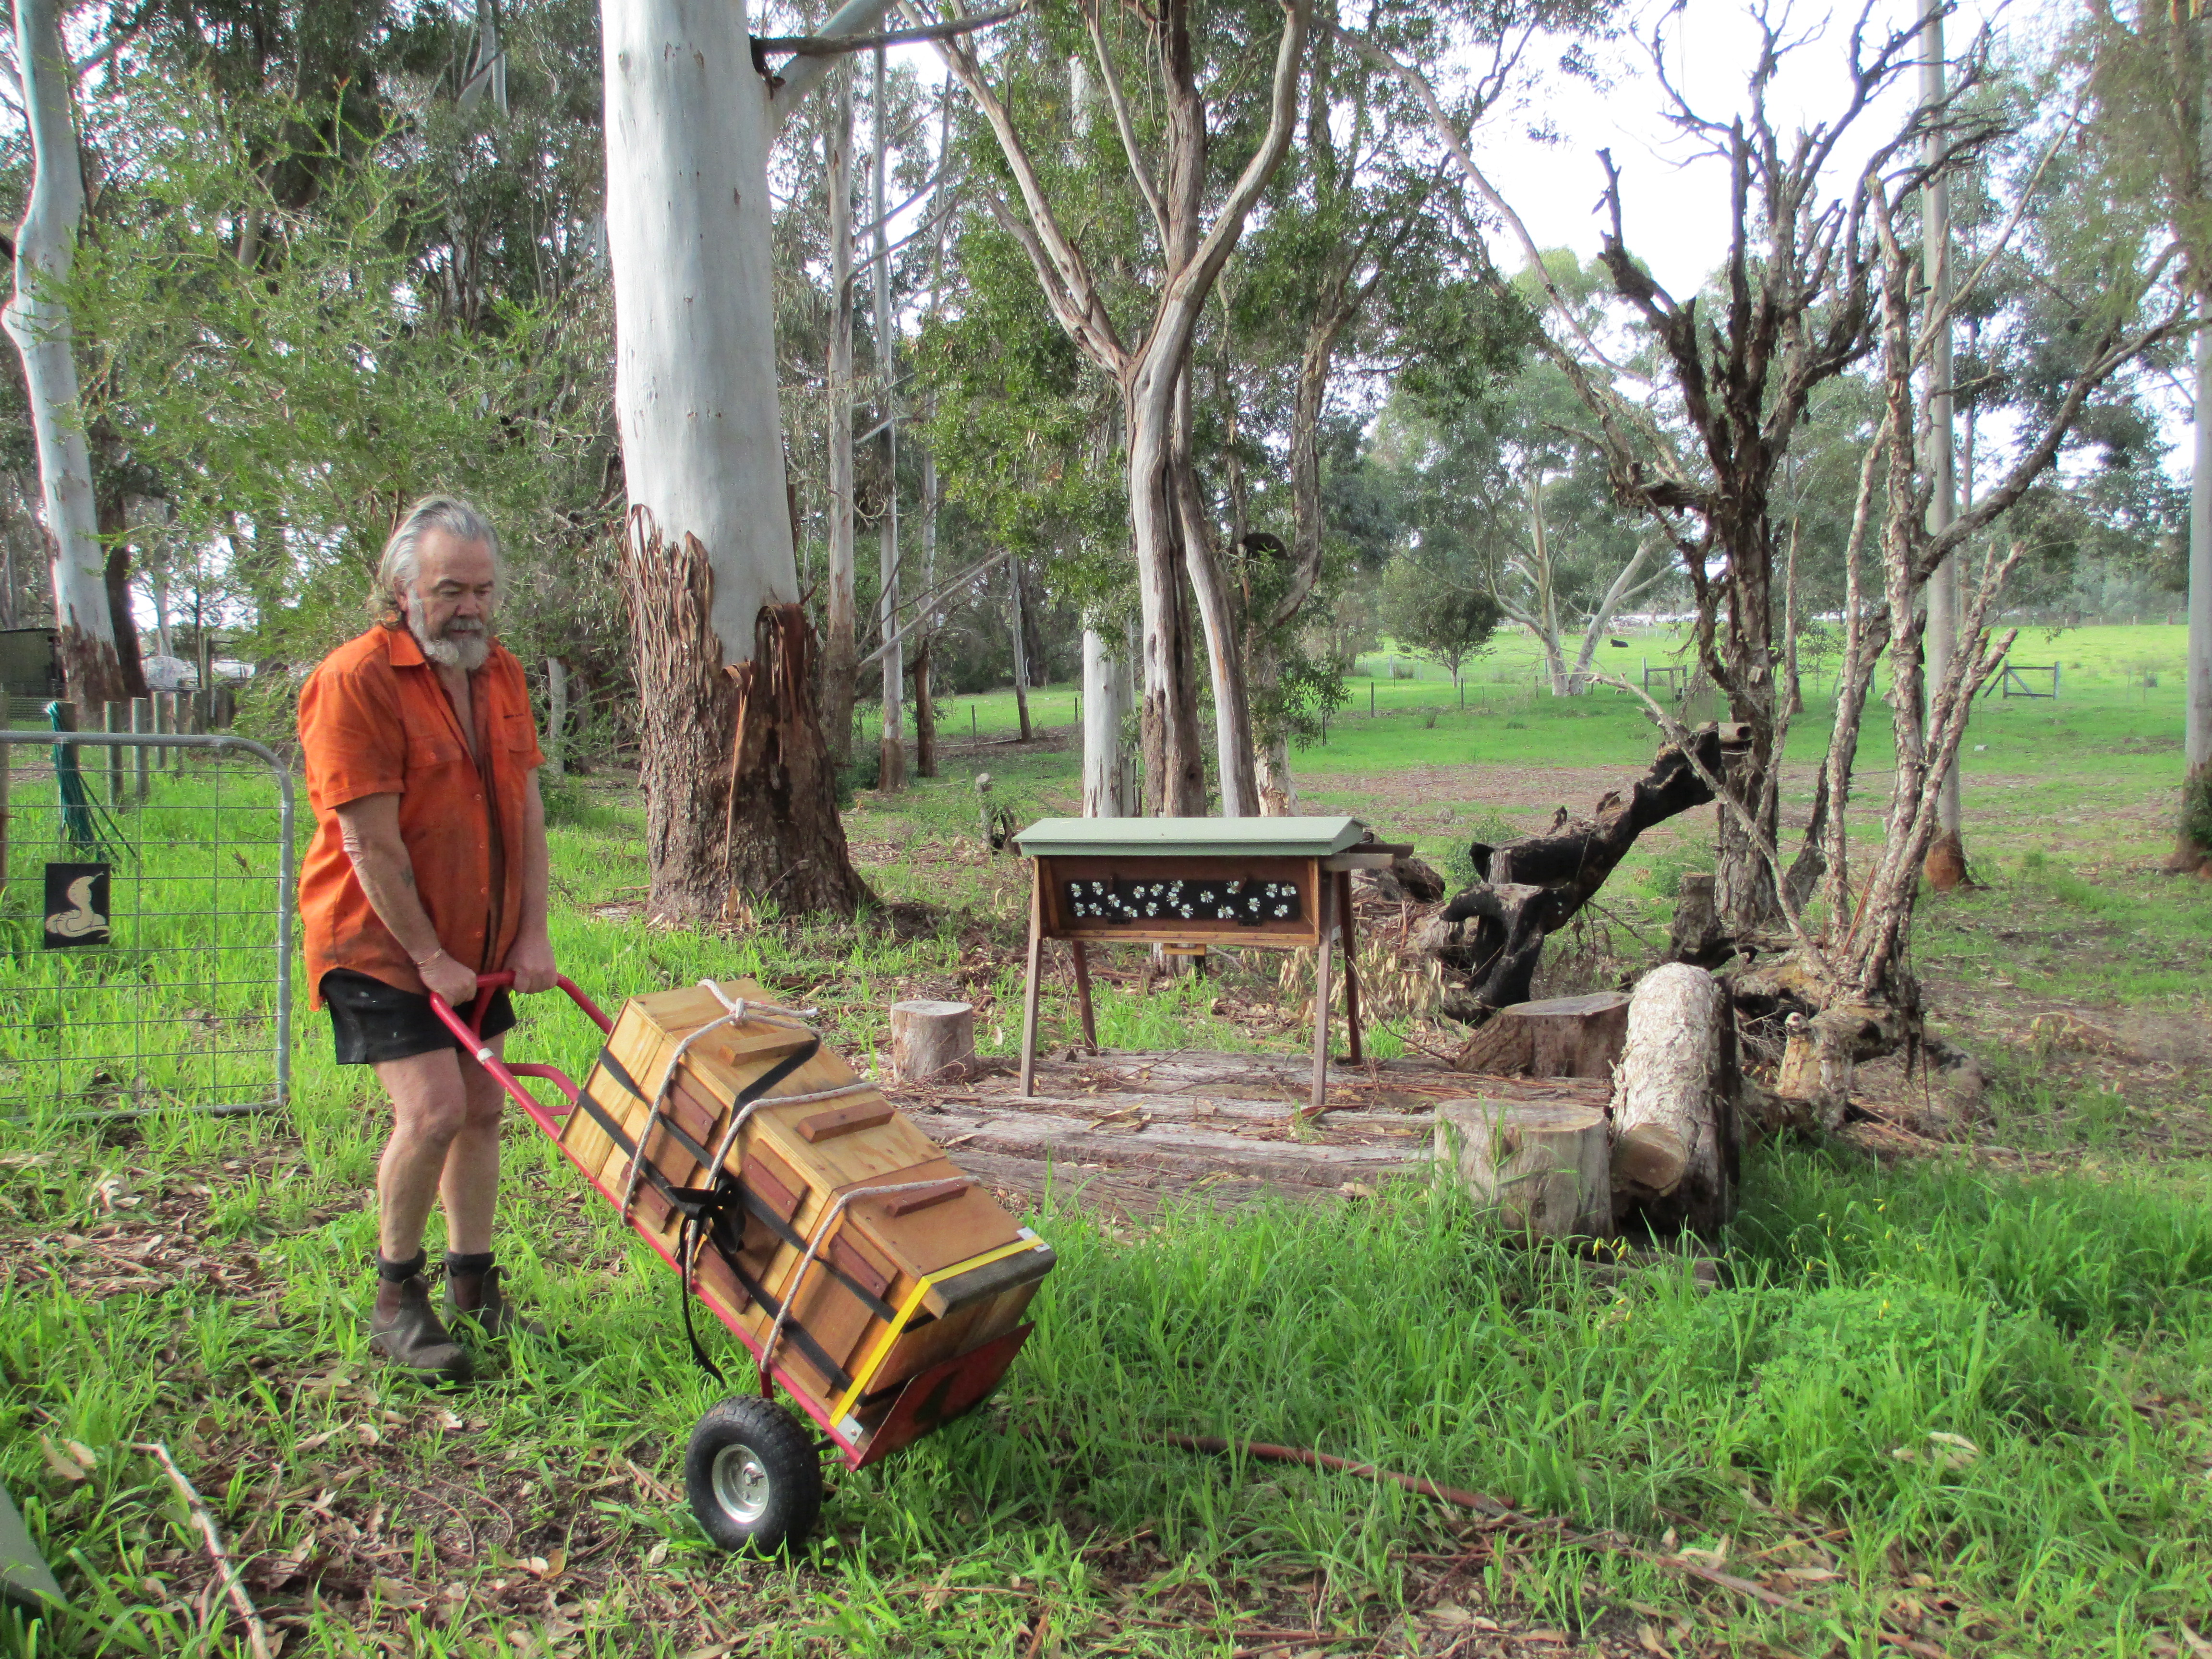
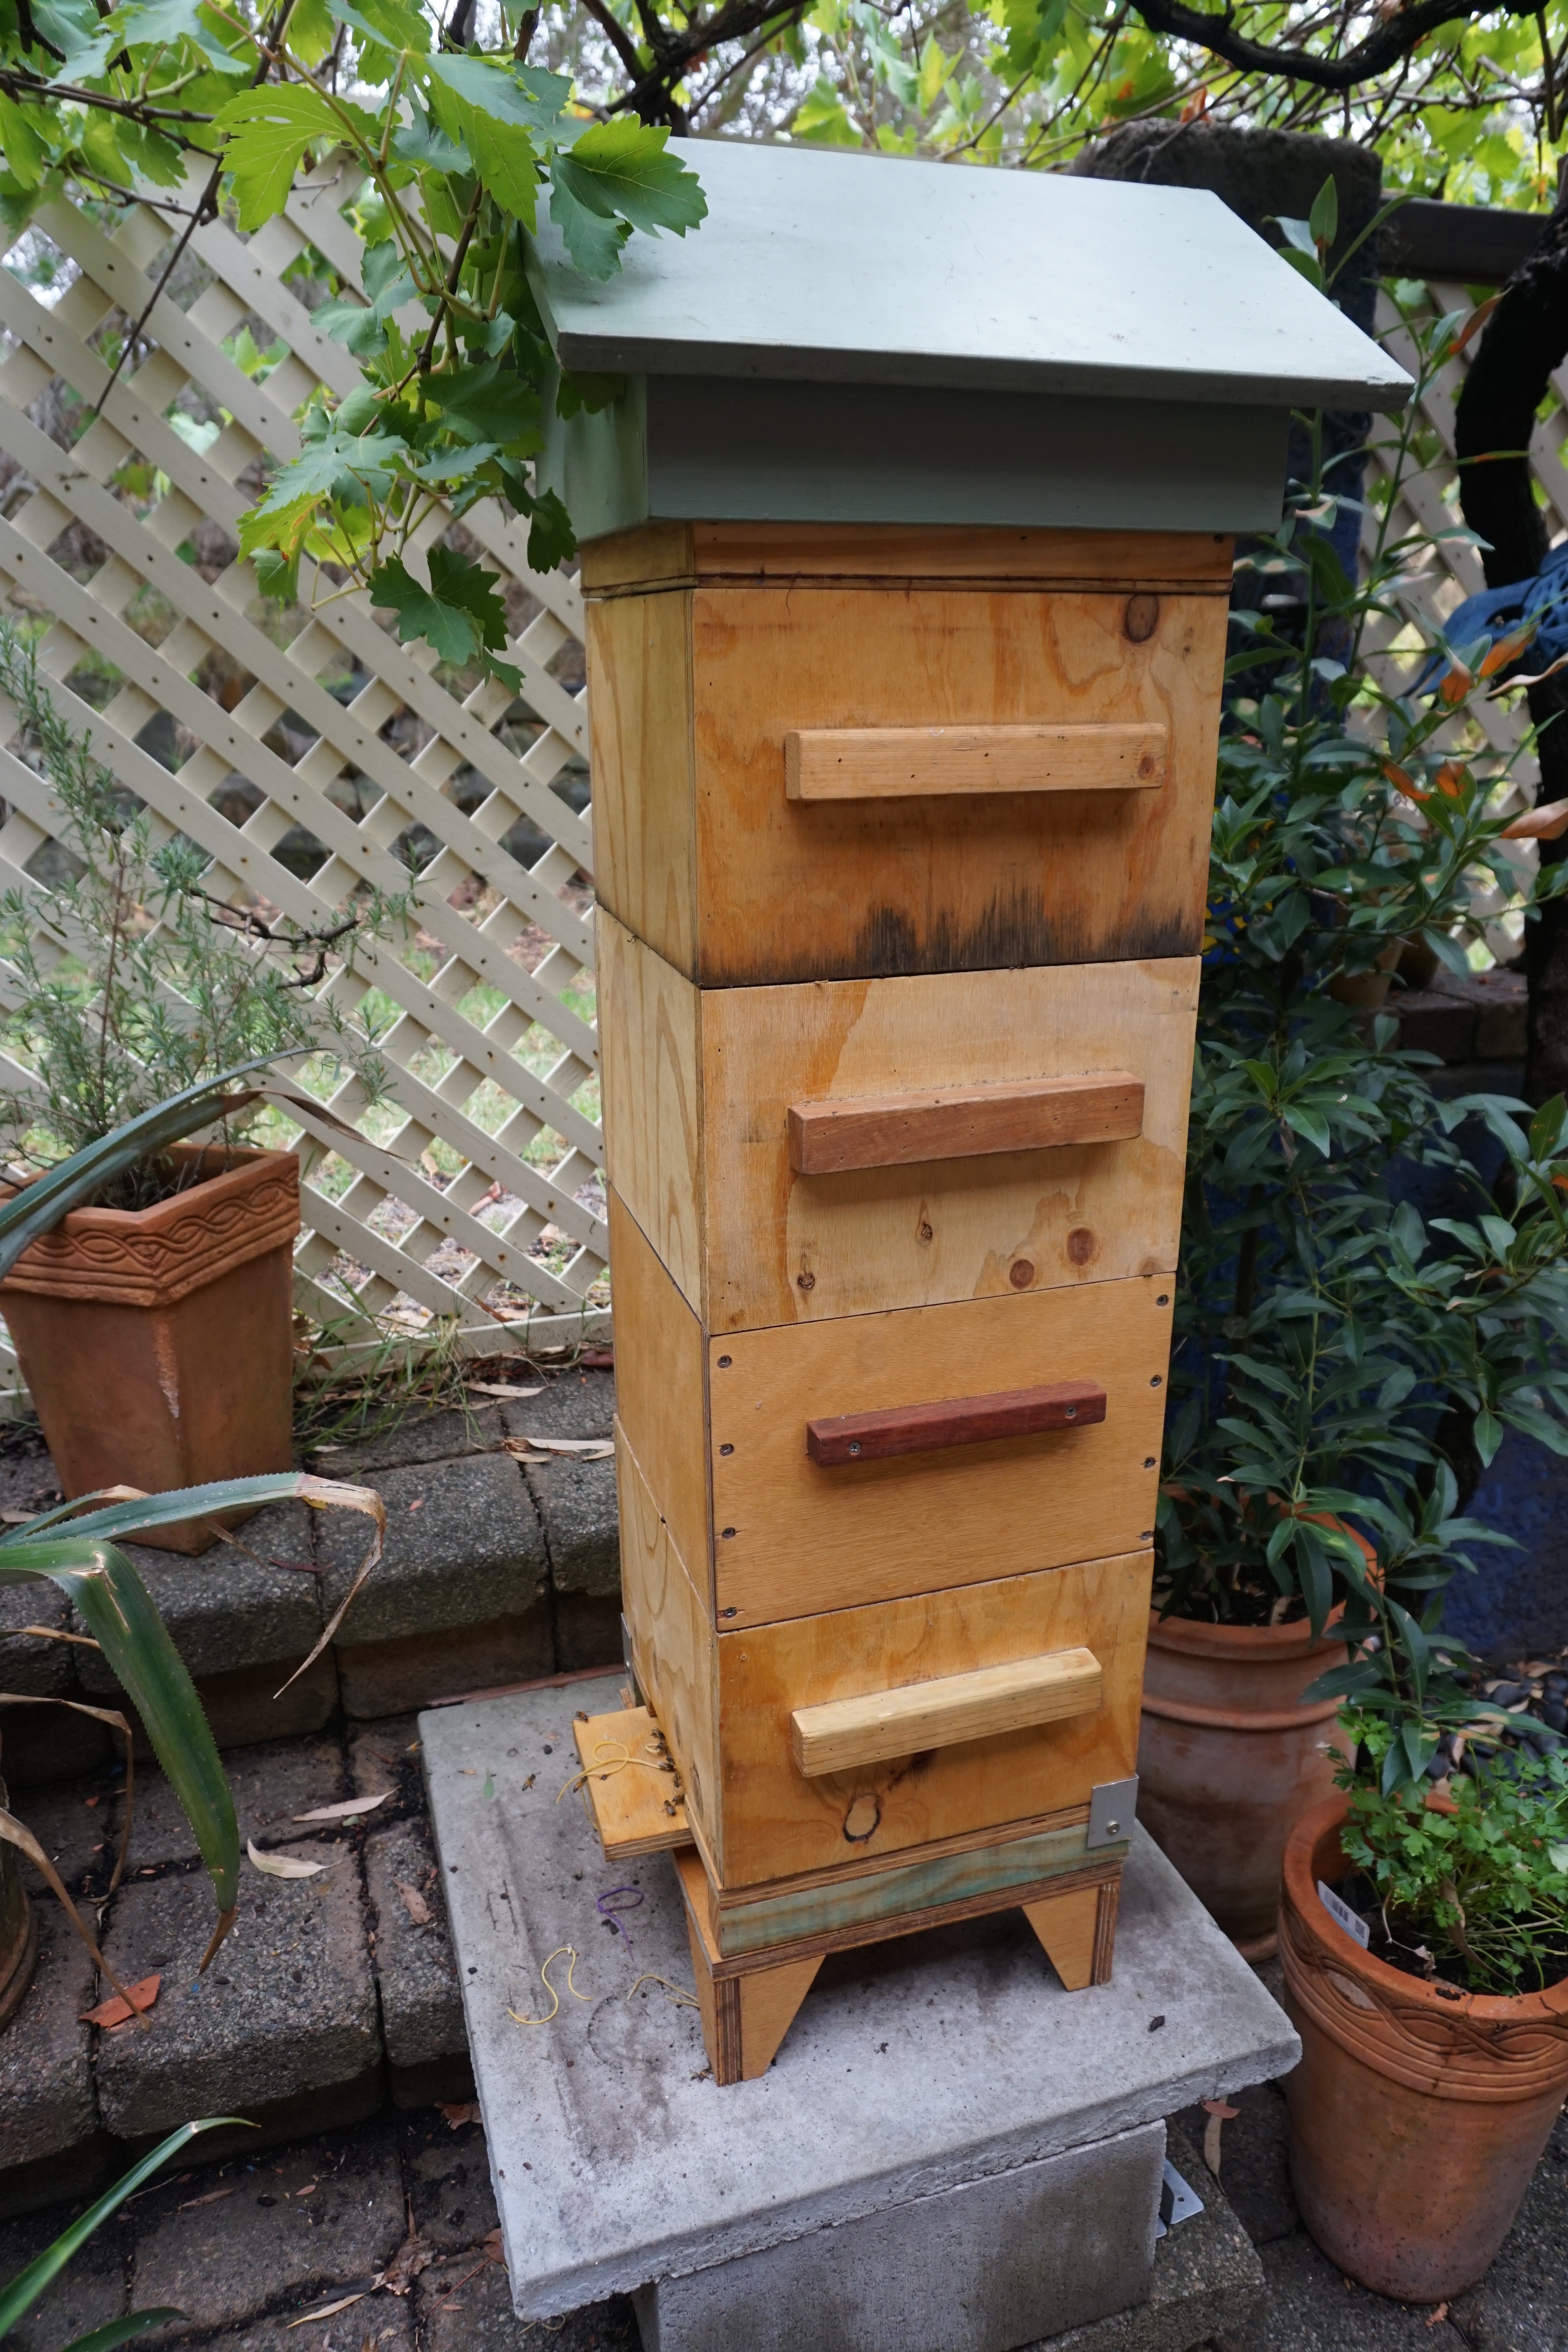
Moving the strapped up Warre to its new location
Once in position, we put some leaves near the entrance, as this obstacle apparently makes the bees more likely to reorient and slow down their exit (they are less likely to be on ‘auto pilot’ and return to the old location by mistake).
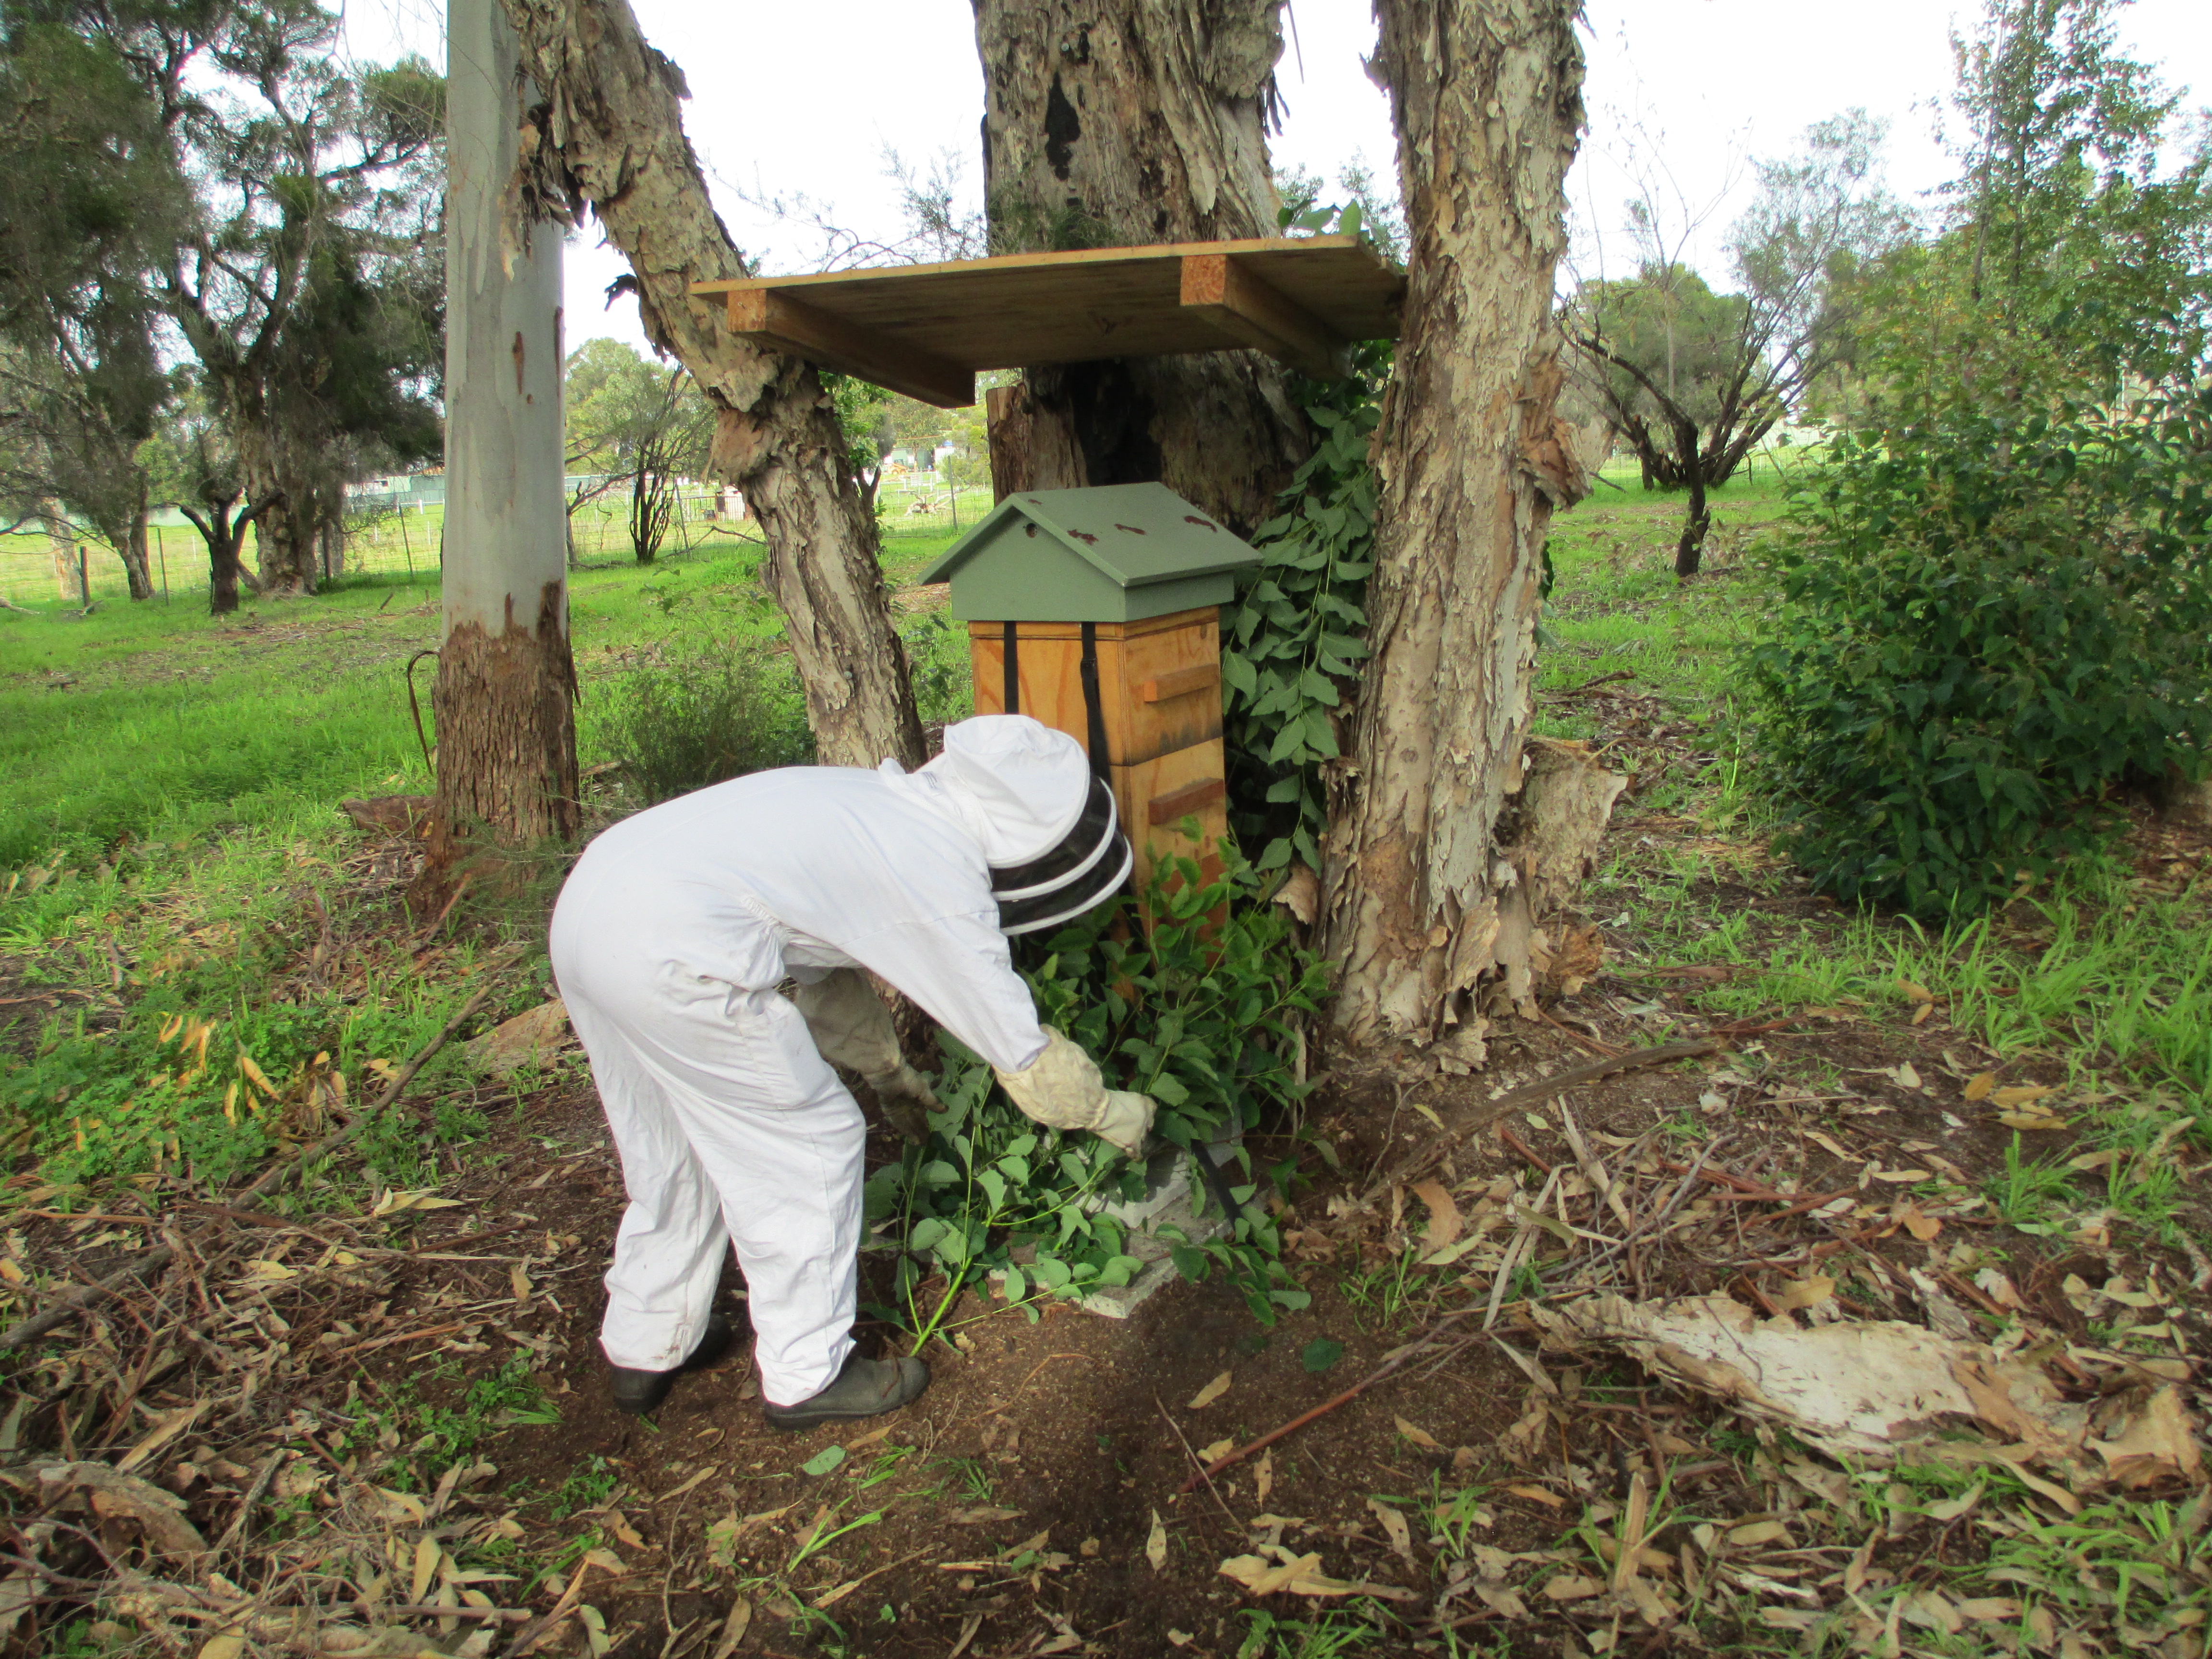
Also to help their reorientation we kept them in for 3 days- apparently they can ‘forget’ their previous orientation.
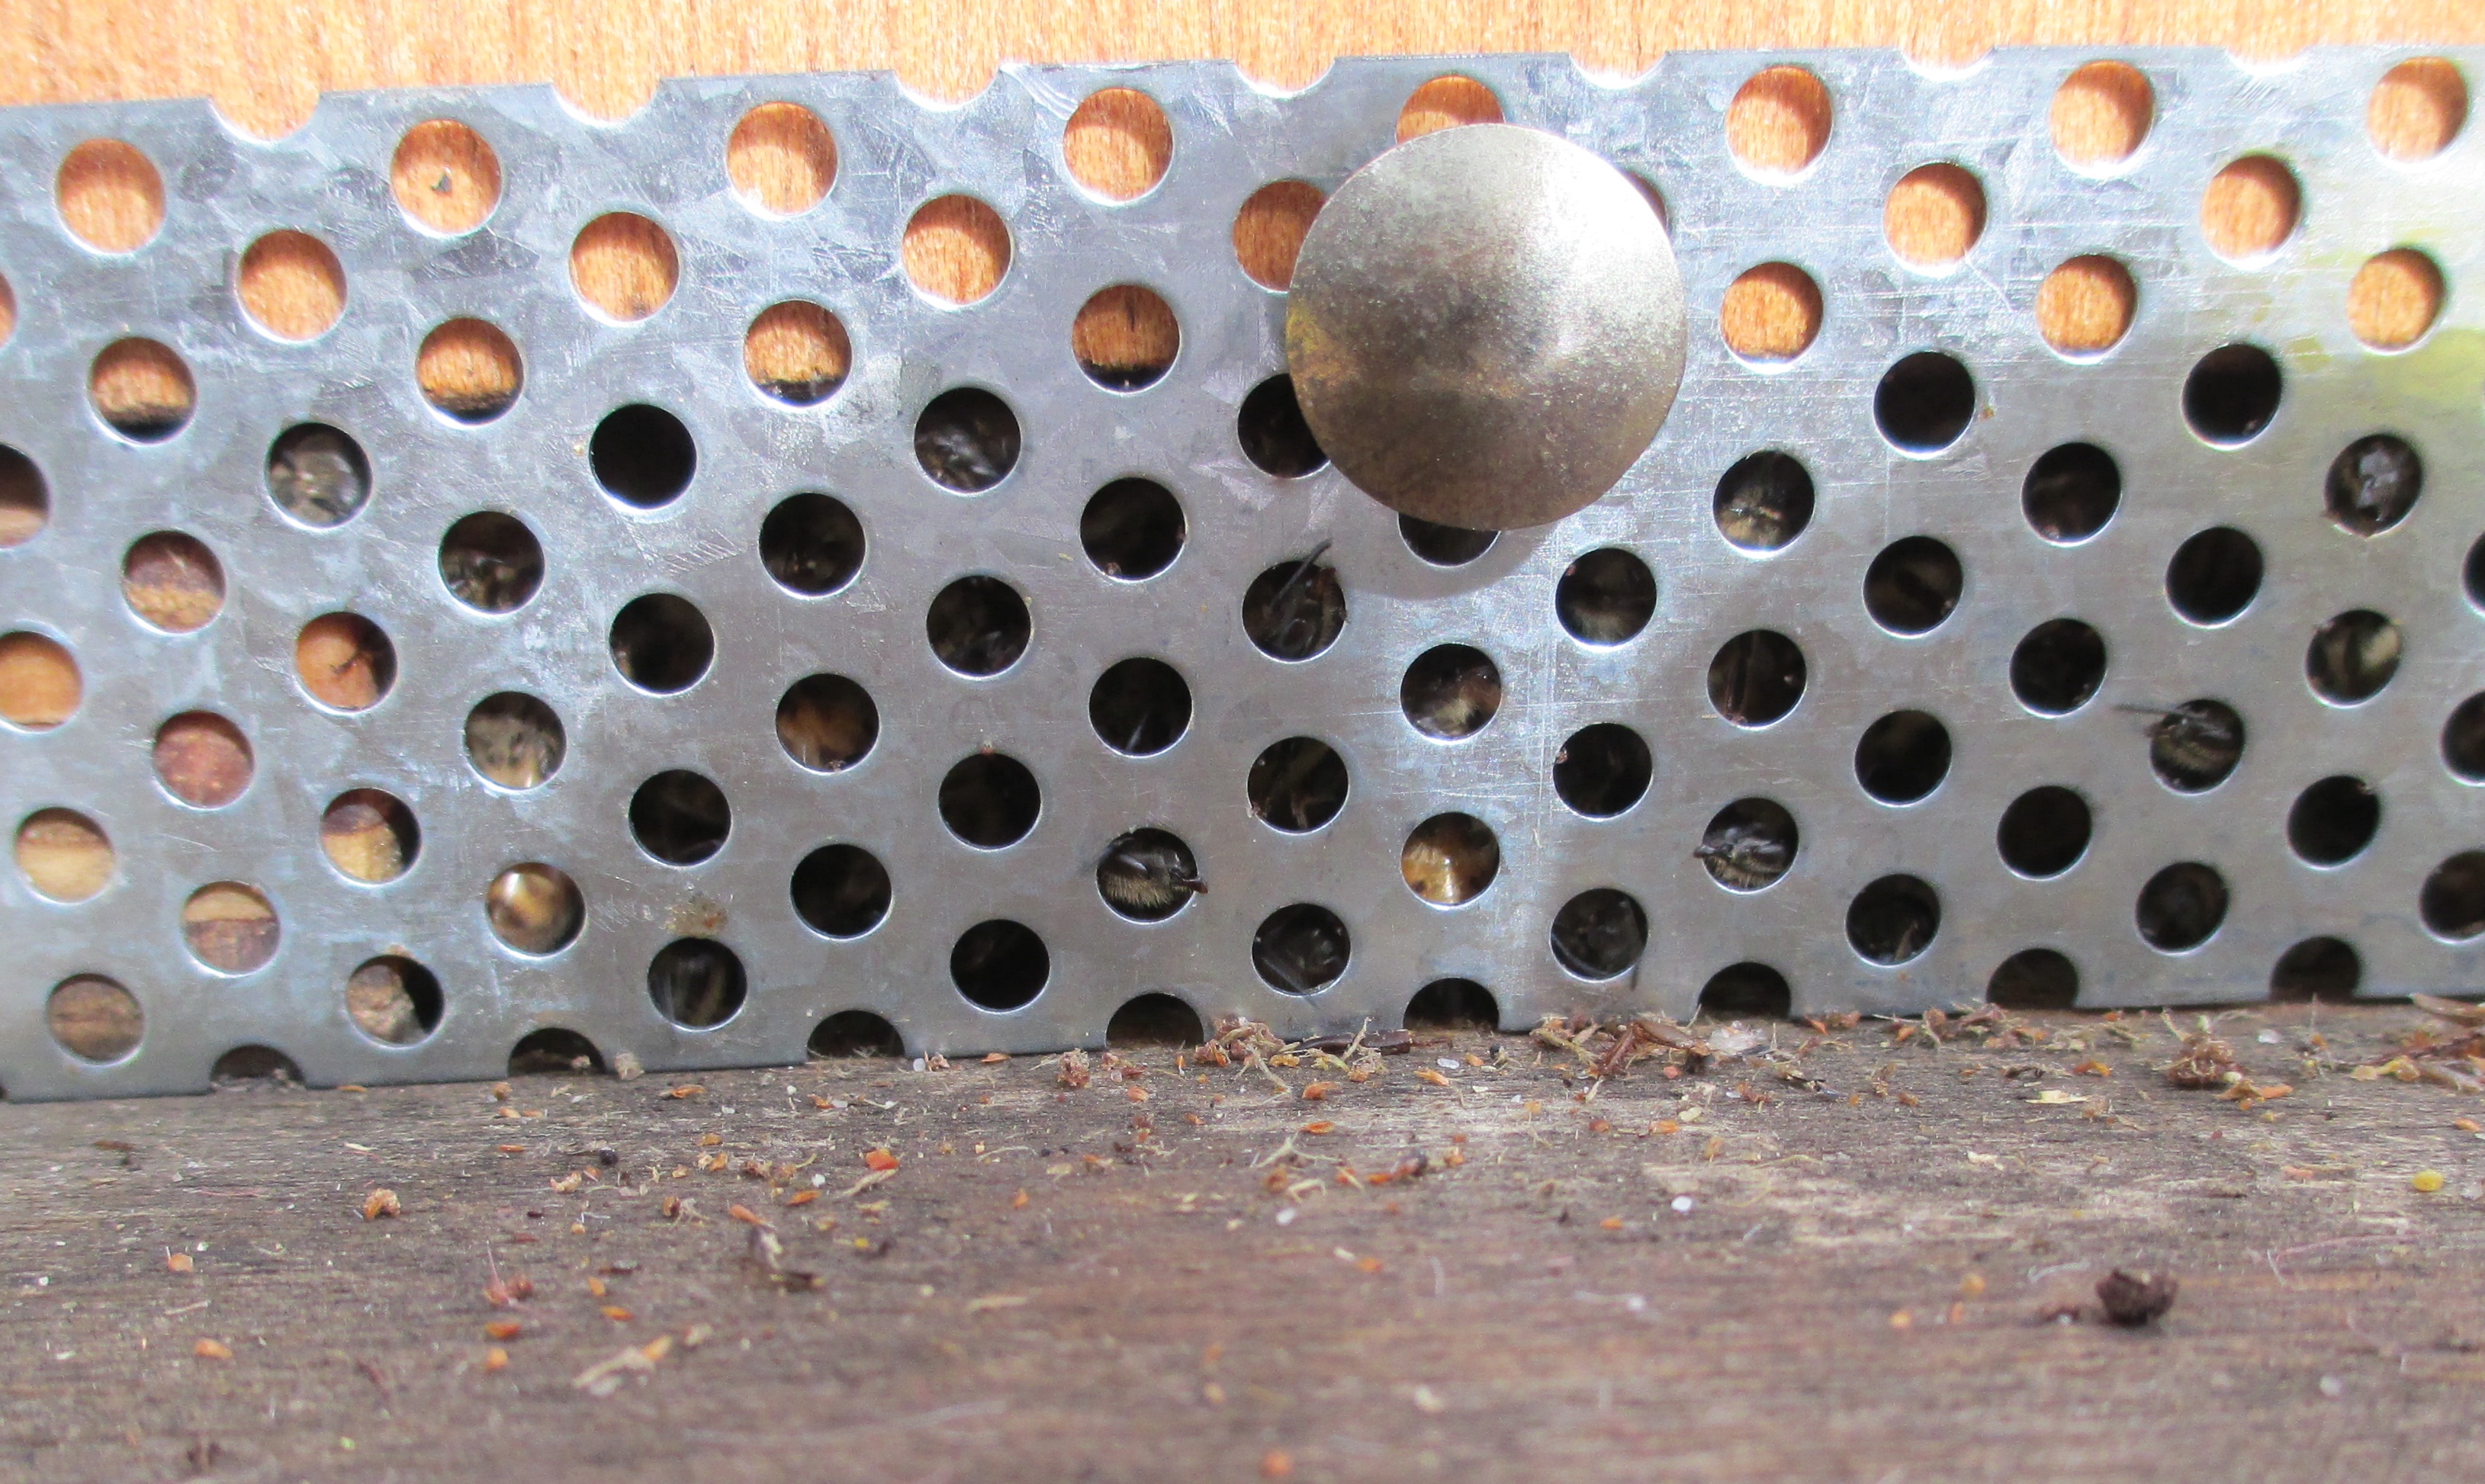
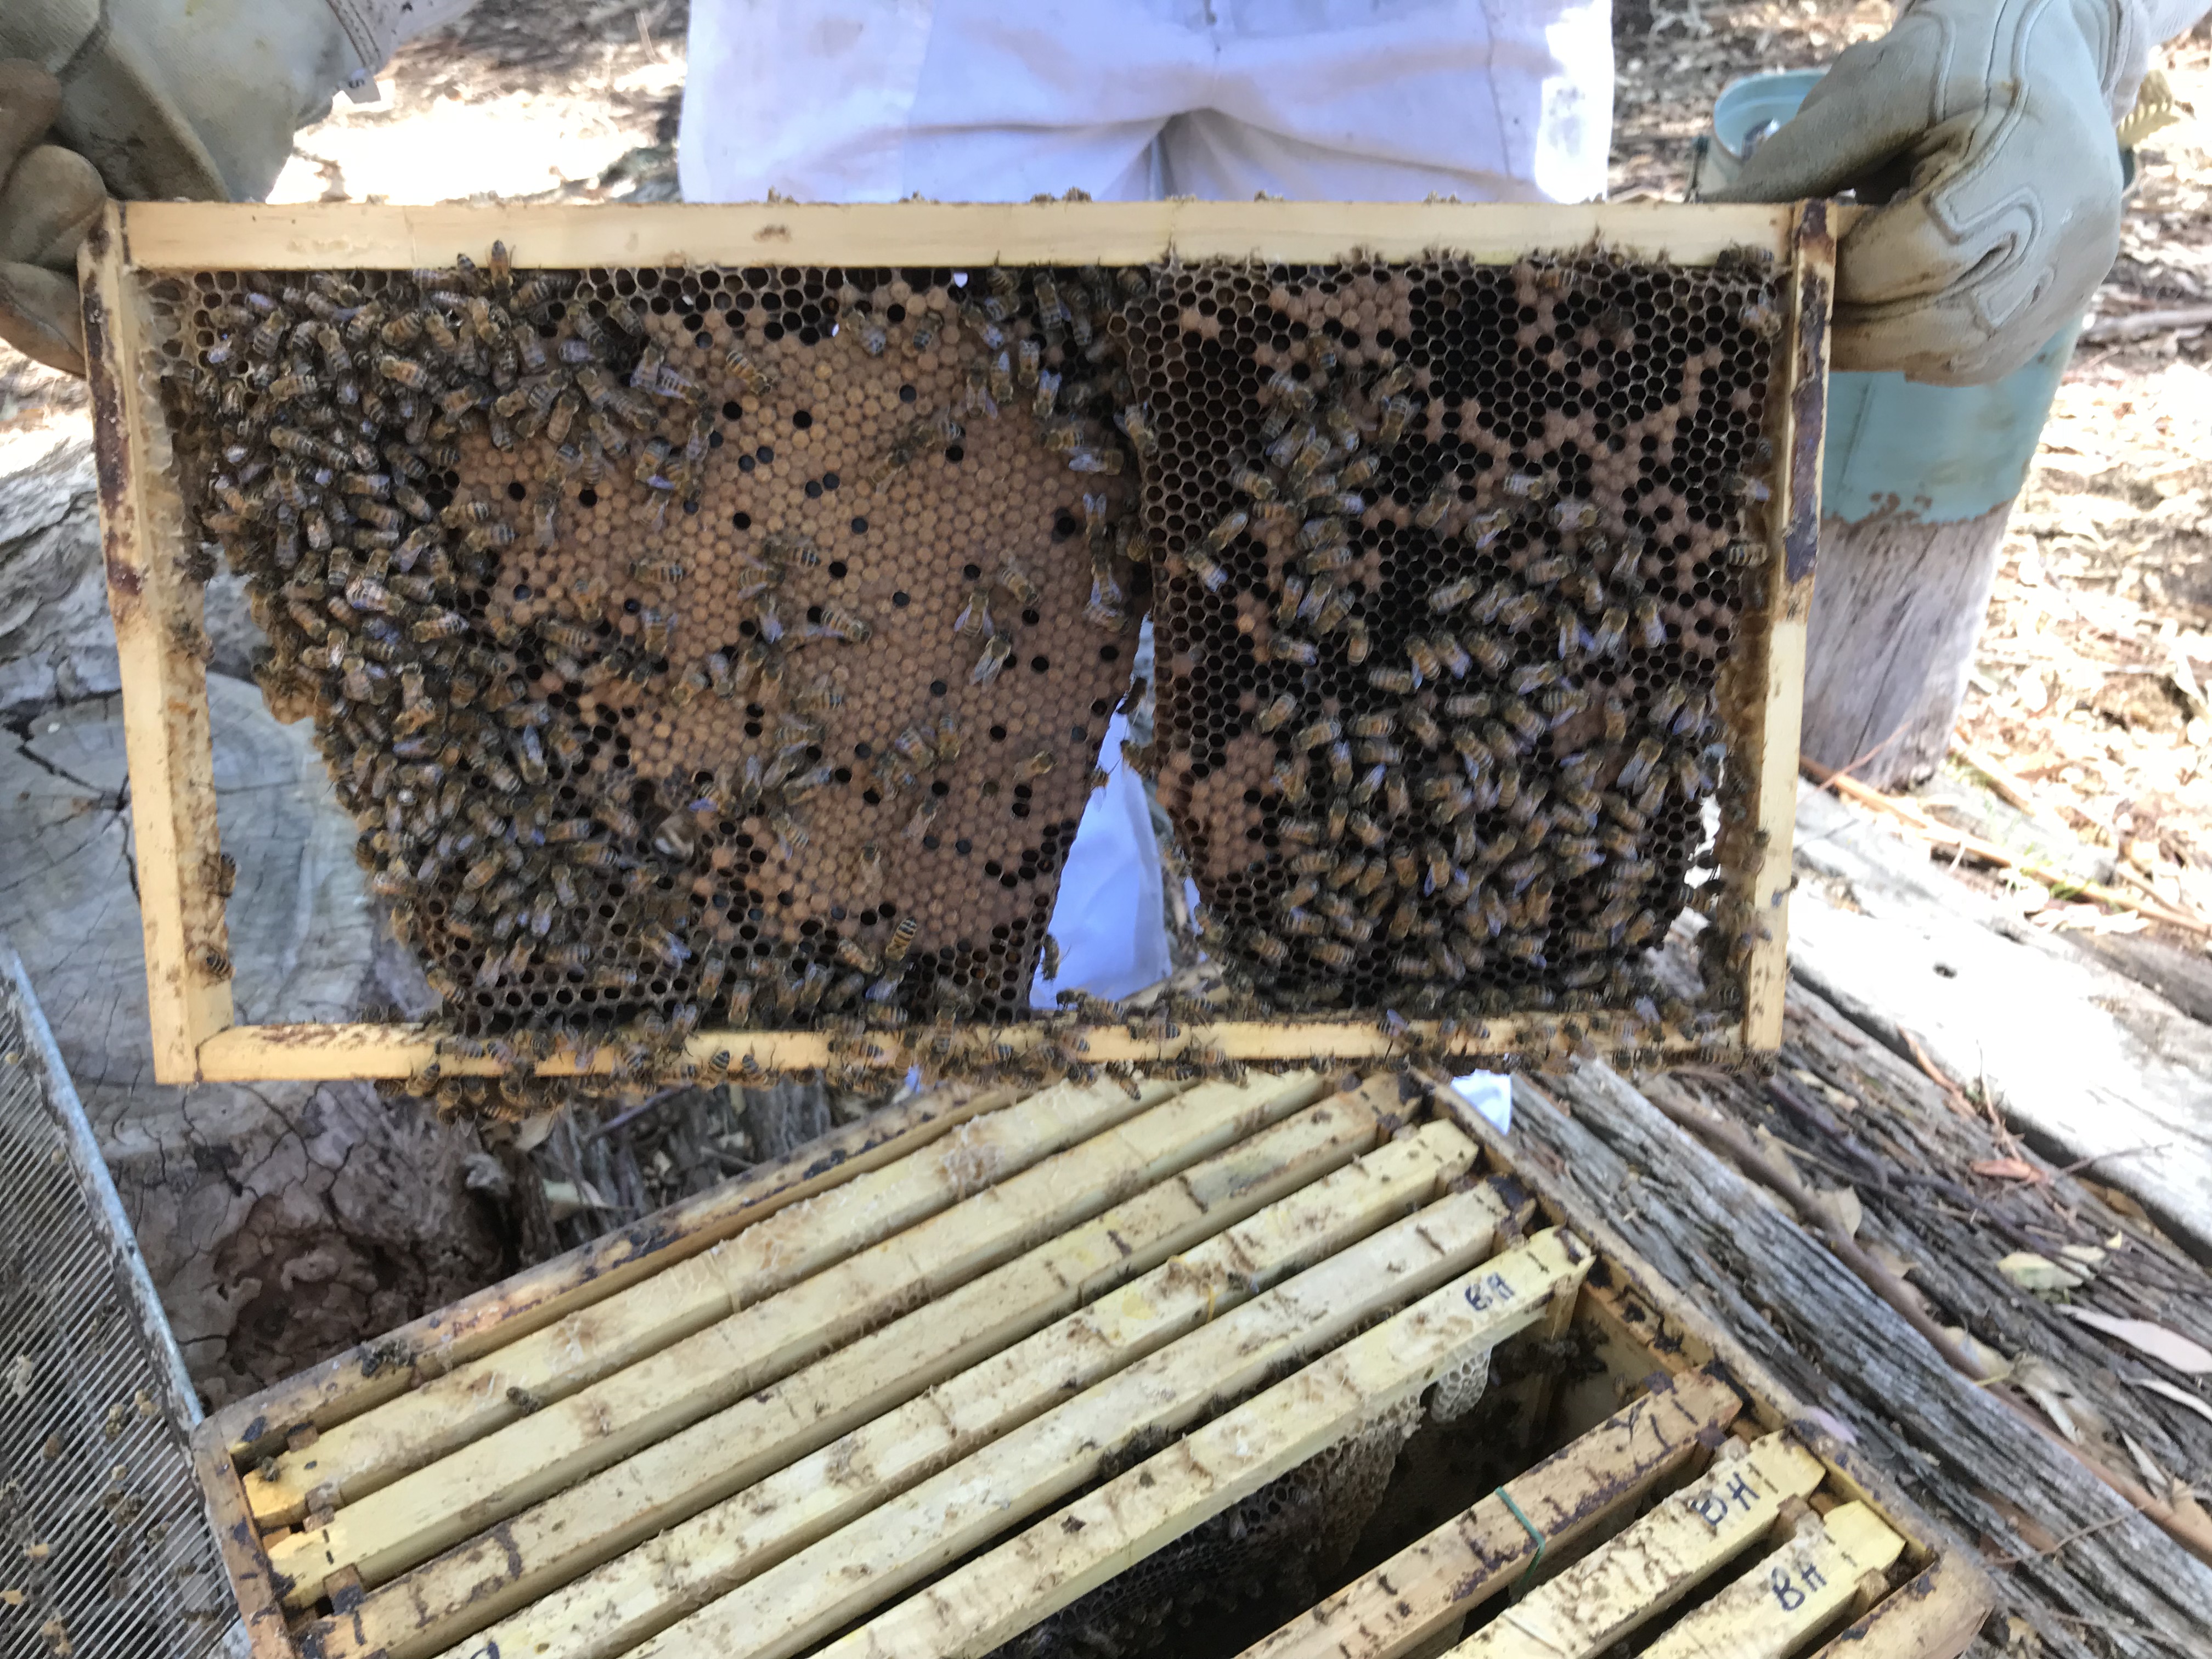
Thousands of bees wanting to get out!
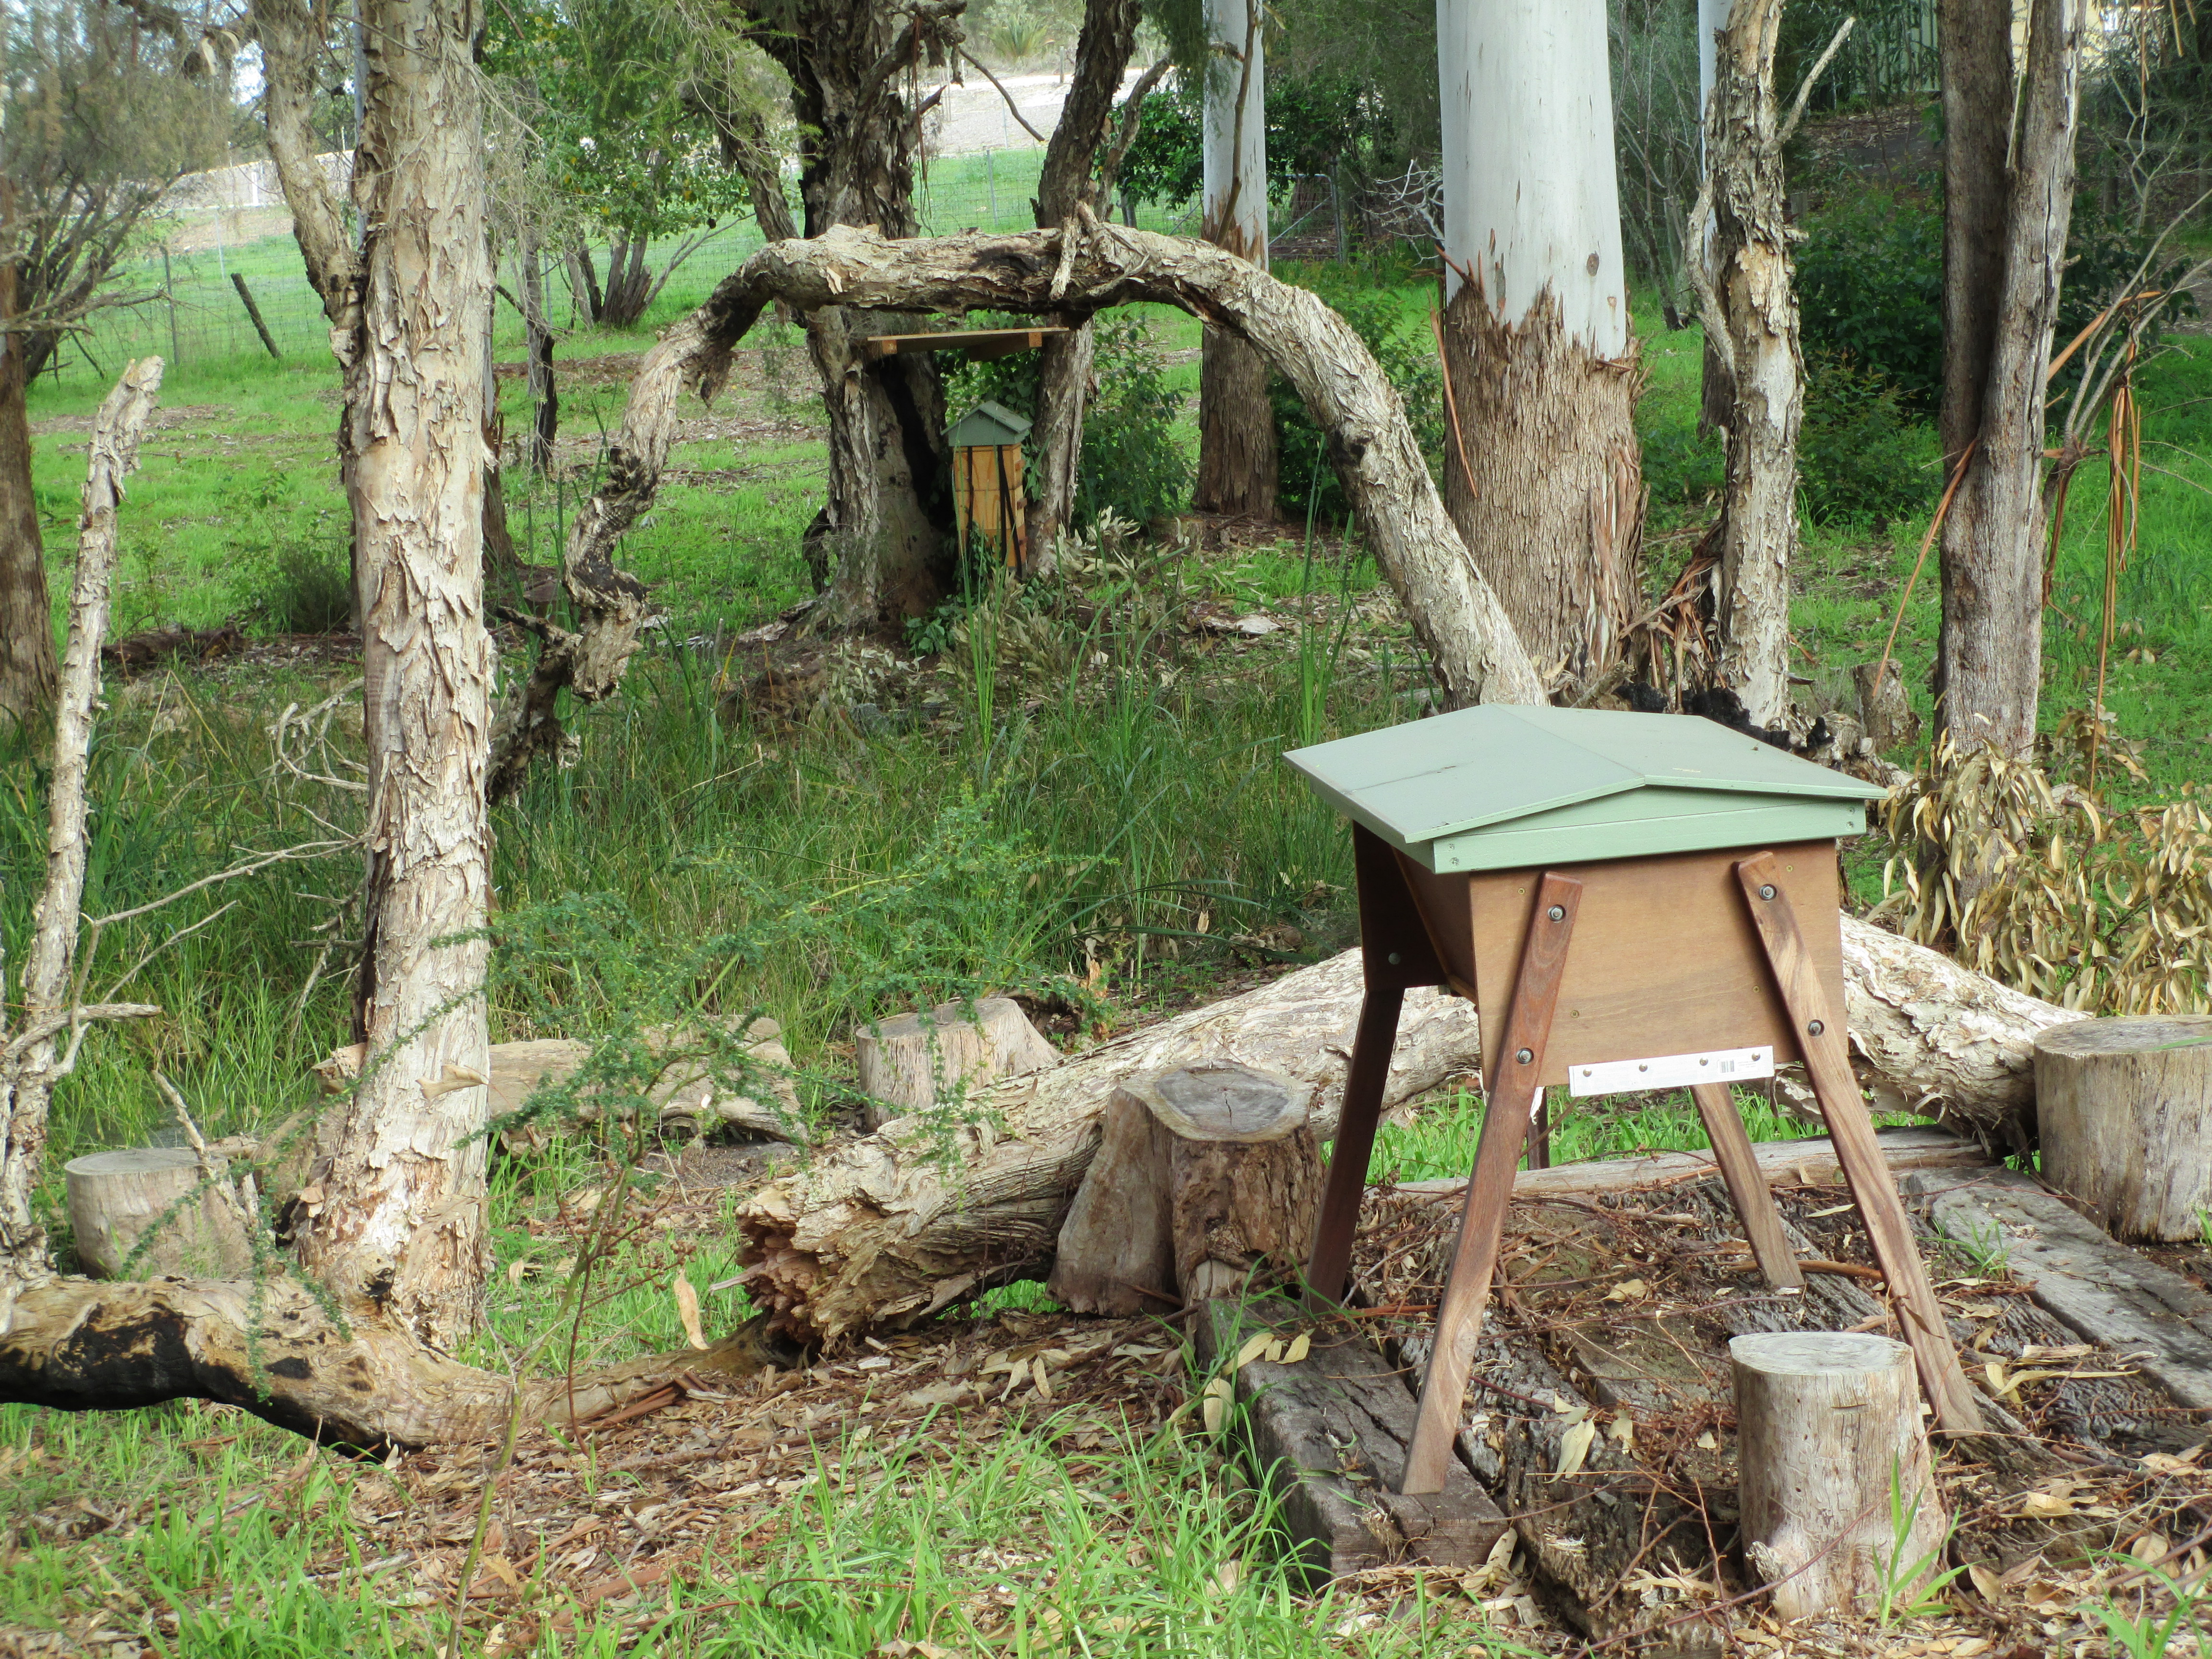
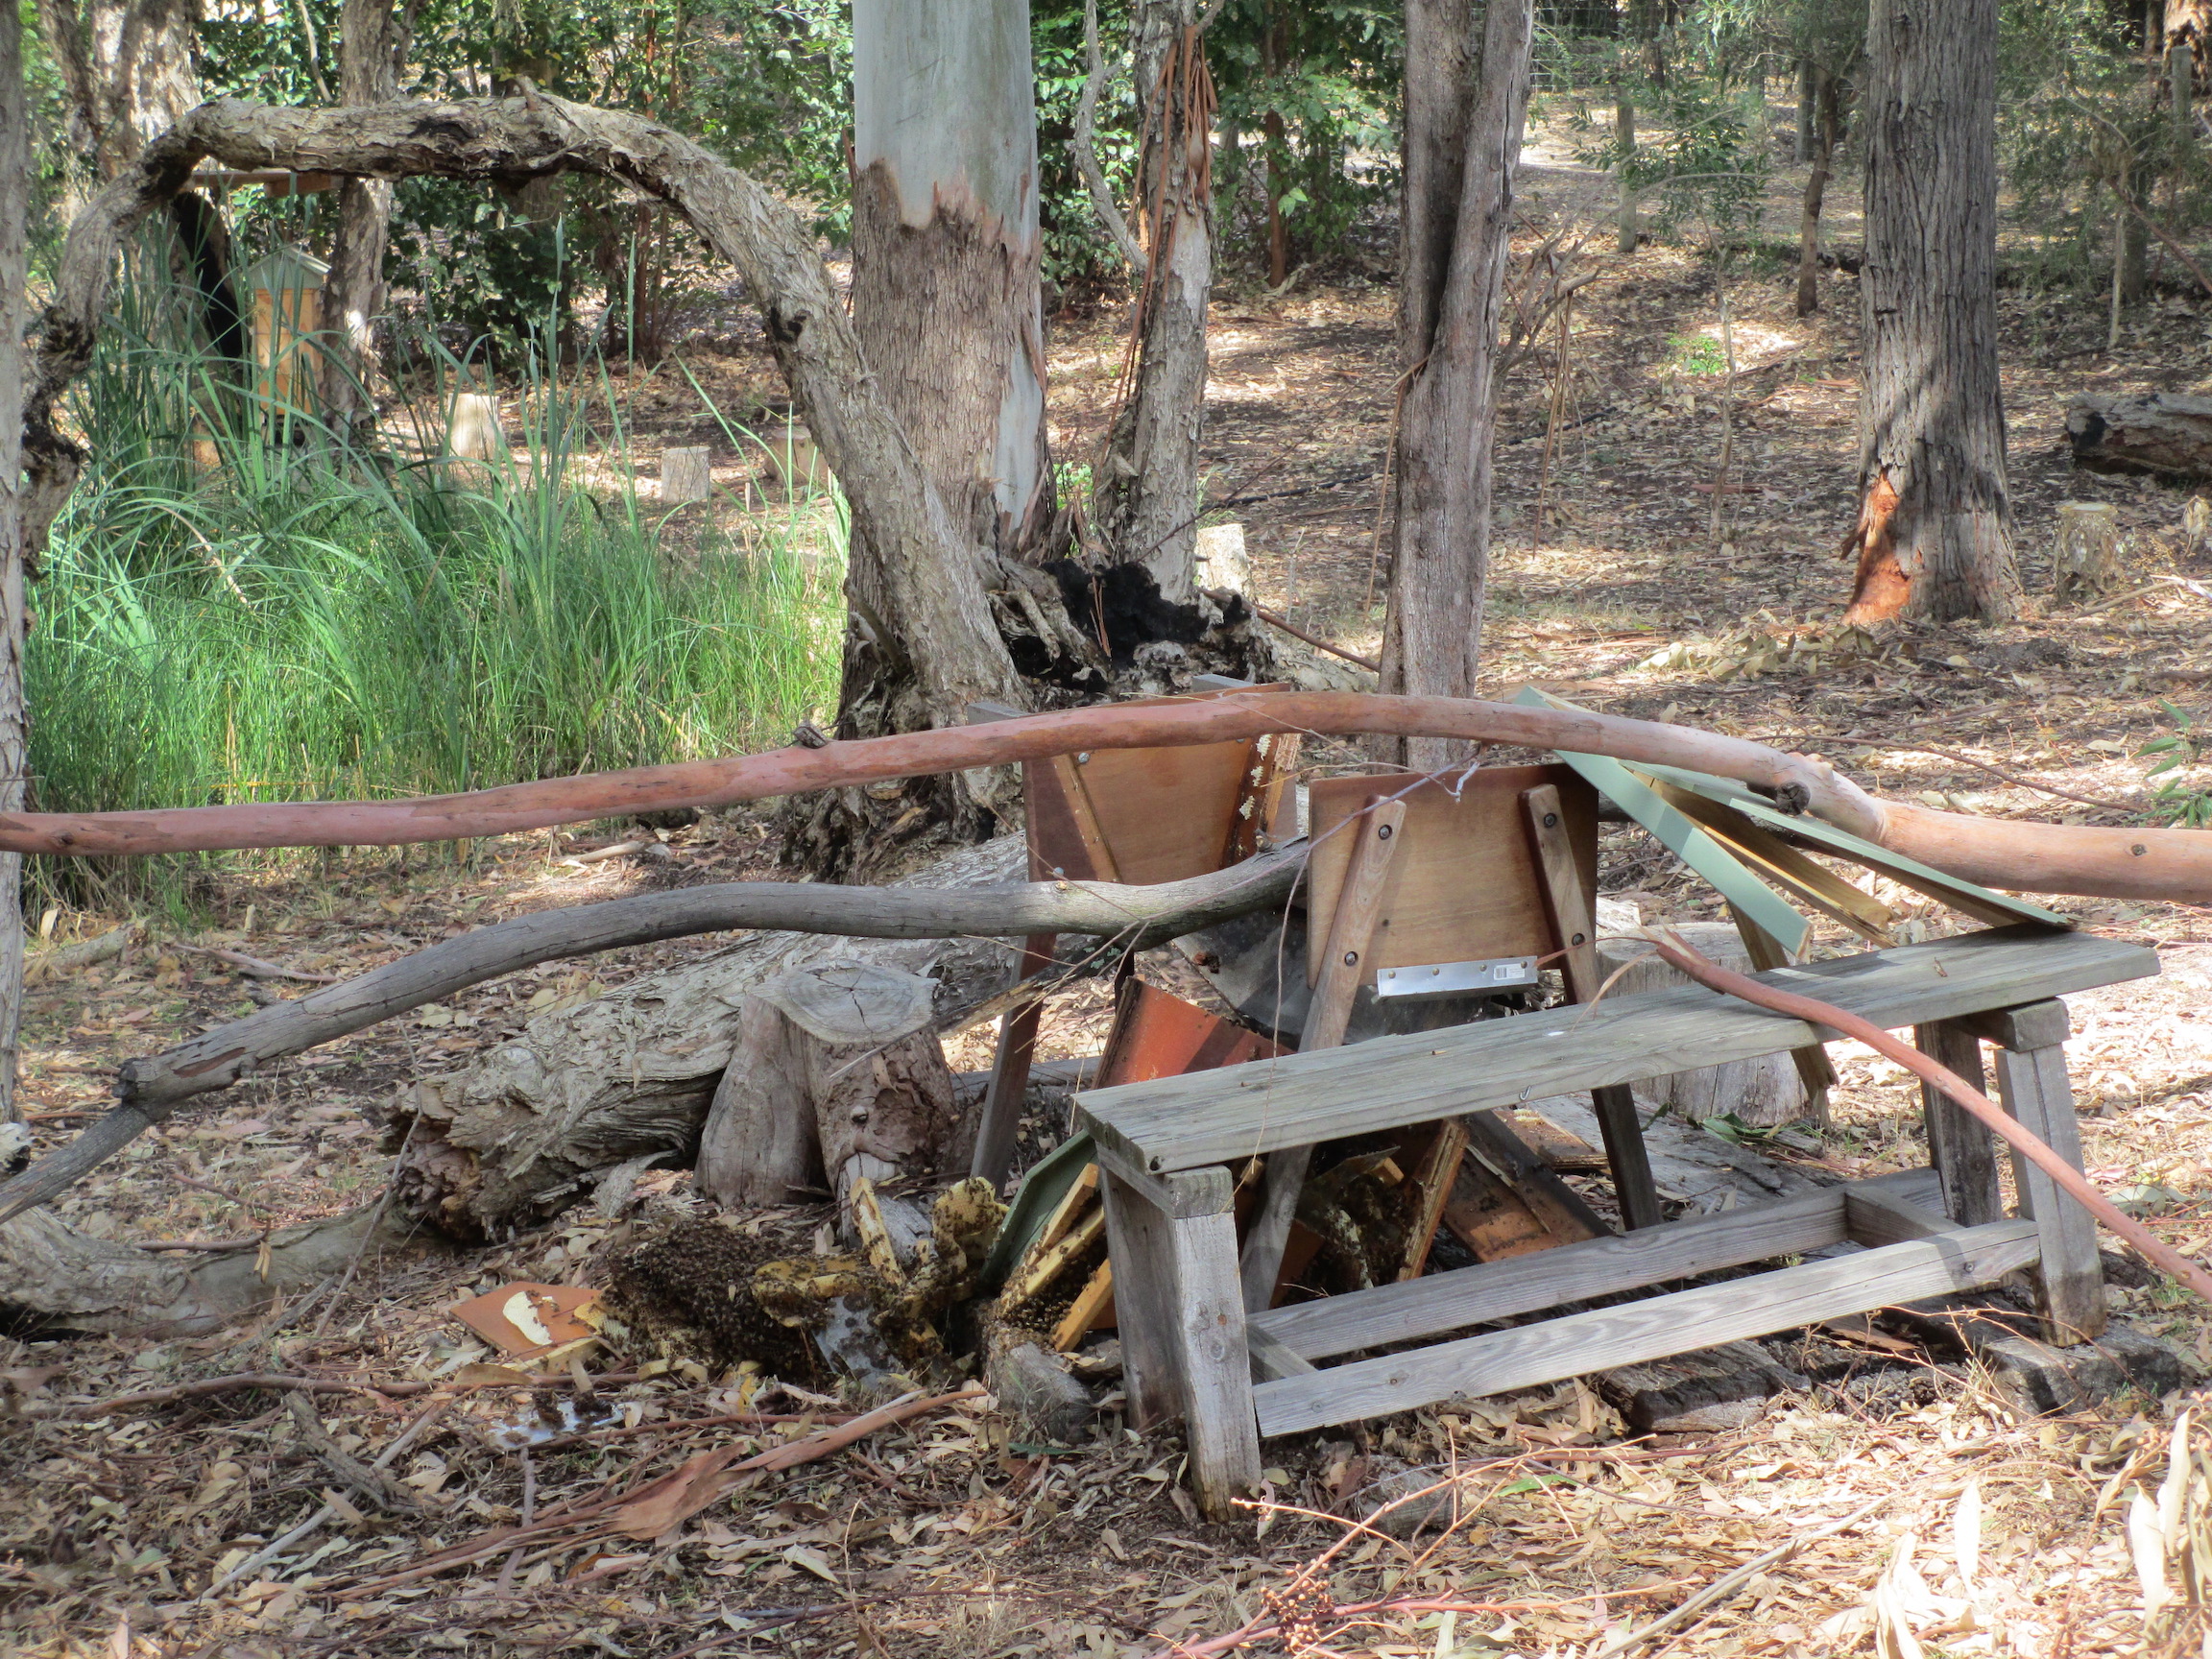
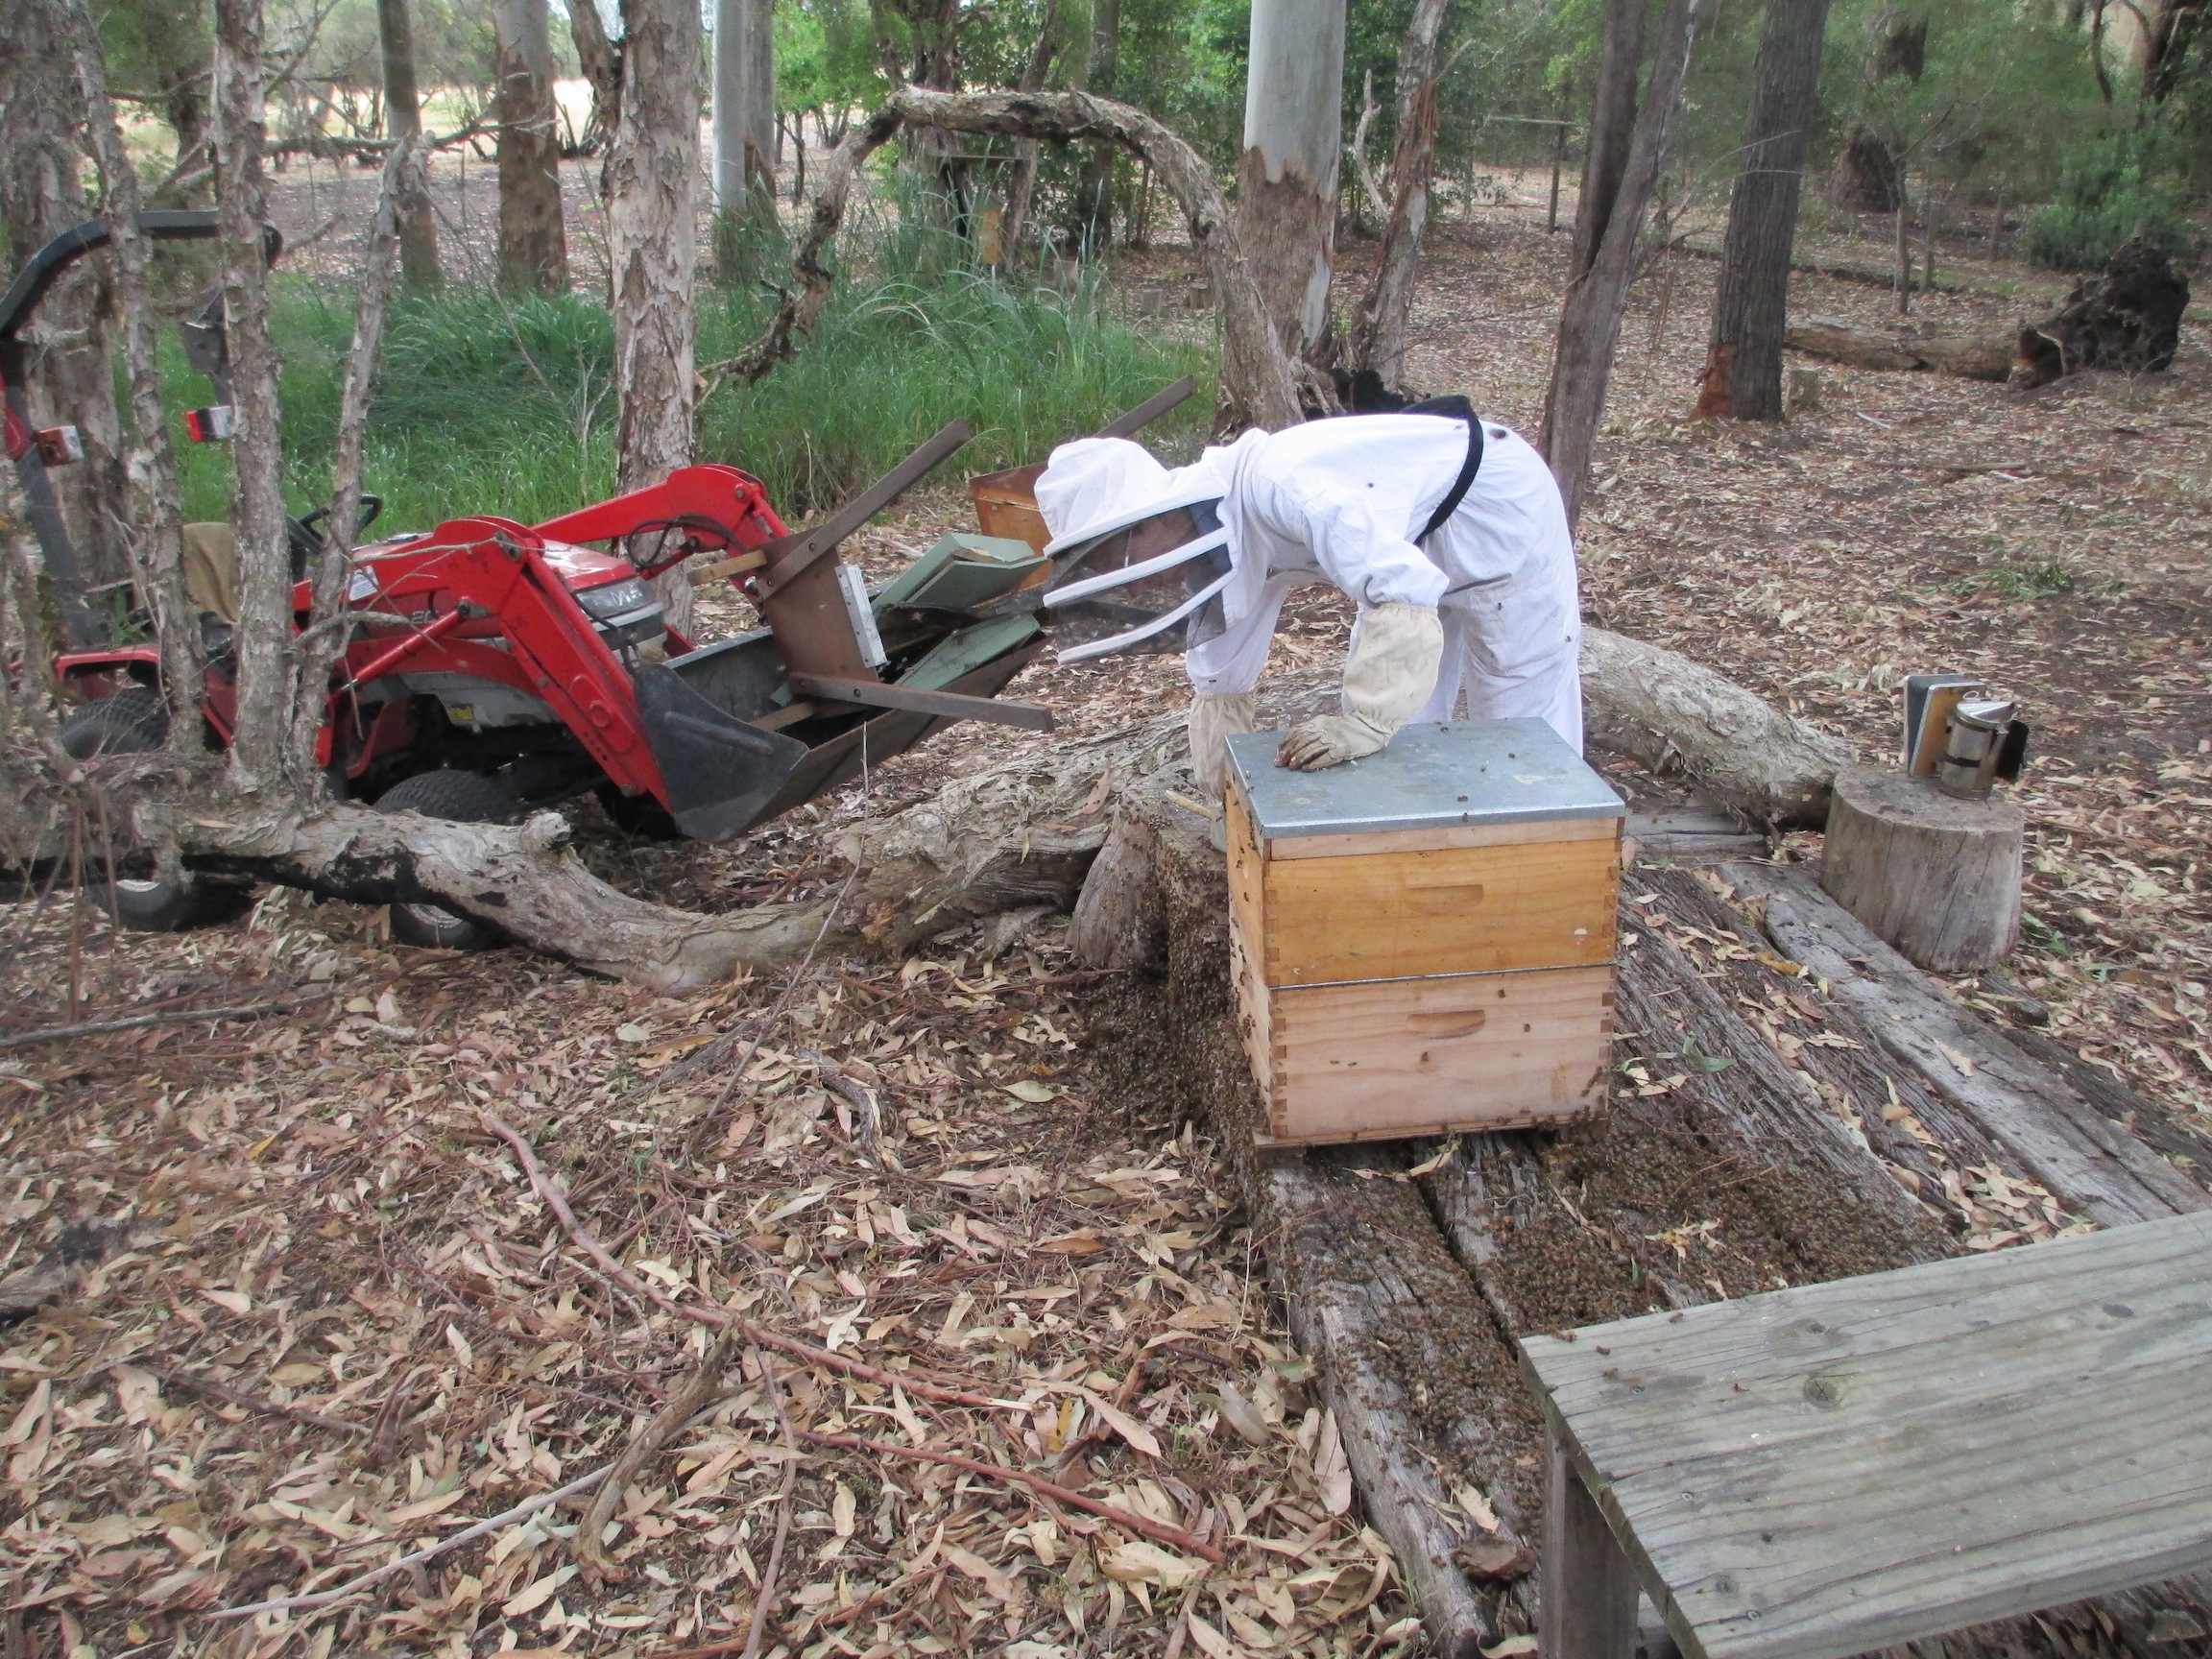
Settled in its new location, near water and the topbar, but still closed up.
After three days, we opened up the entrance, made sure the leaves were in front as an obstacle, and watched the bees pour out! Sure enough, they crawled out and circled above the entrance (a sign they are reorienting).
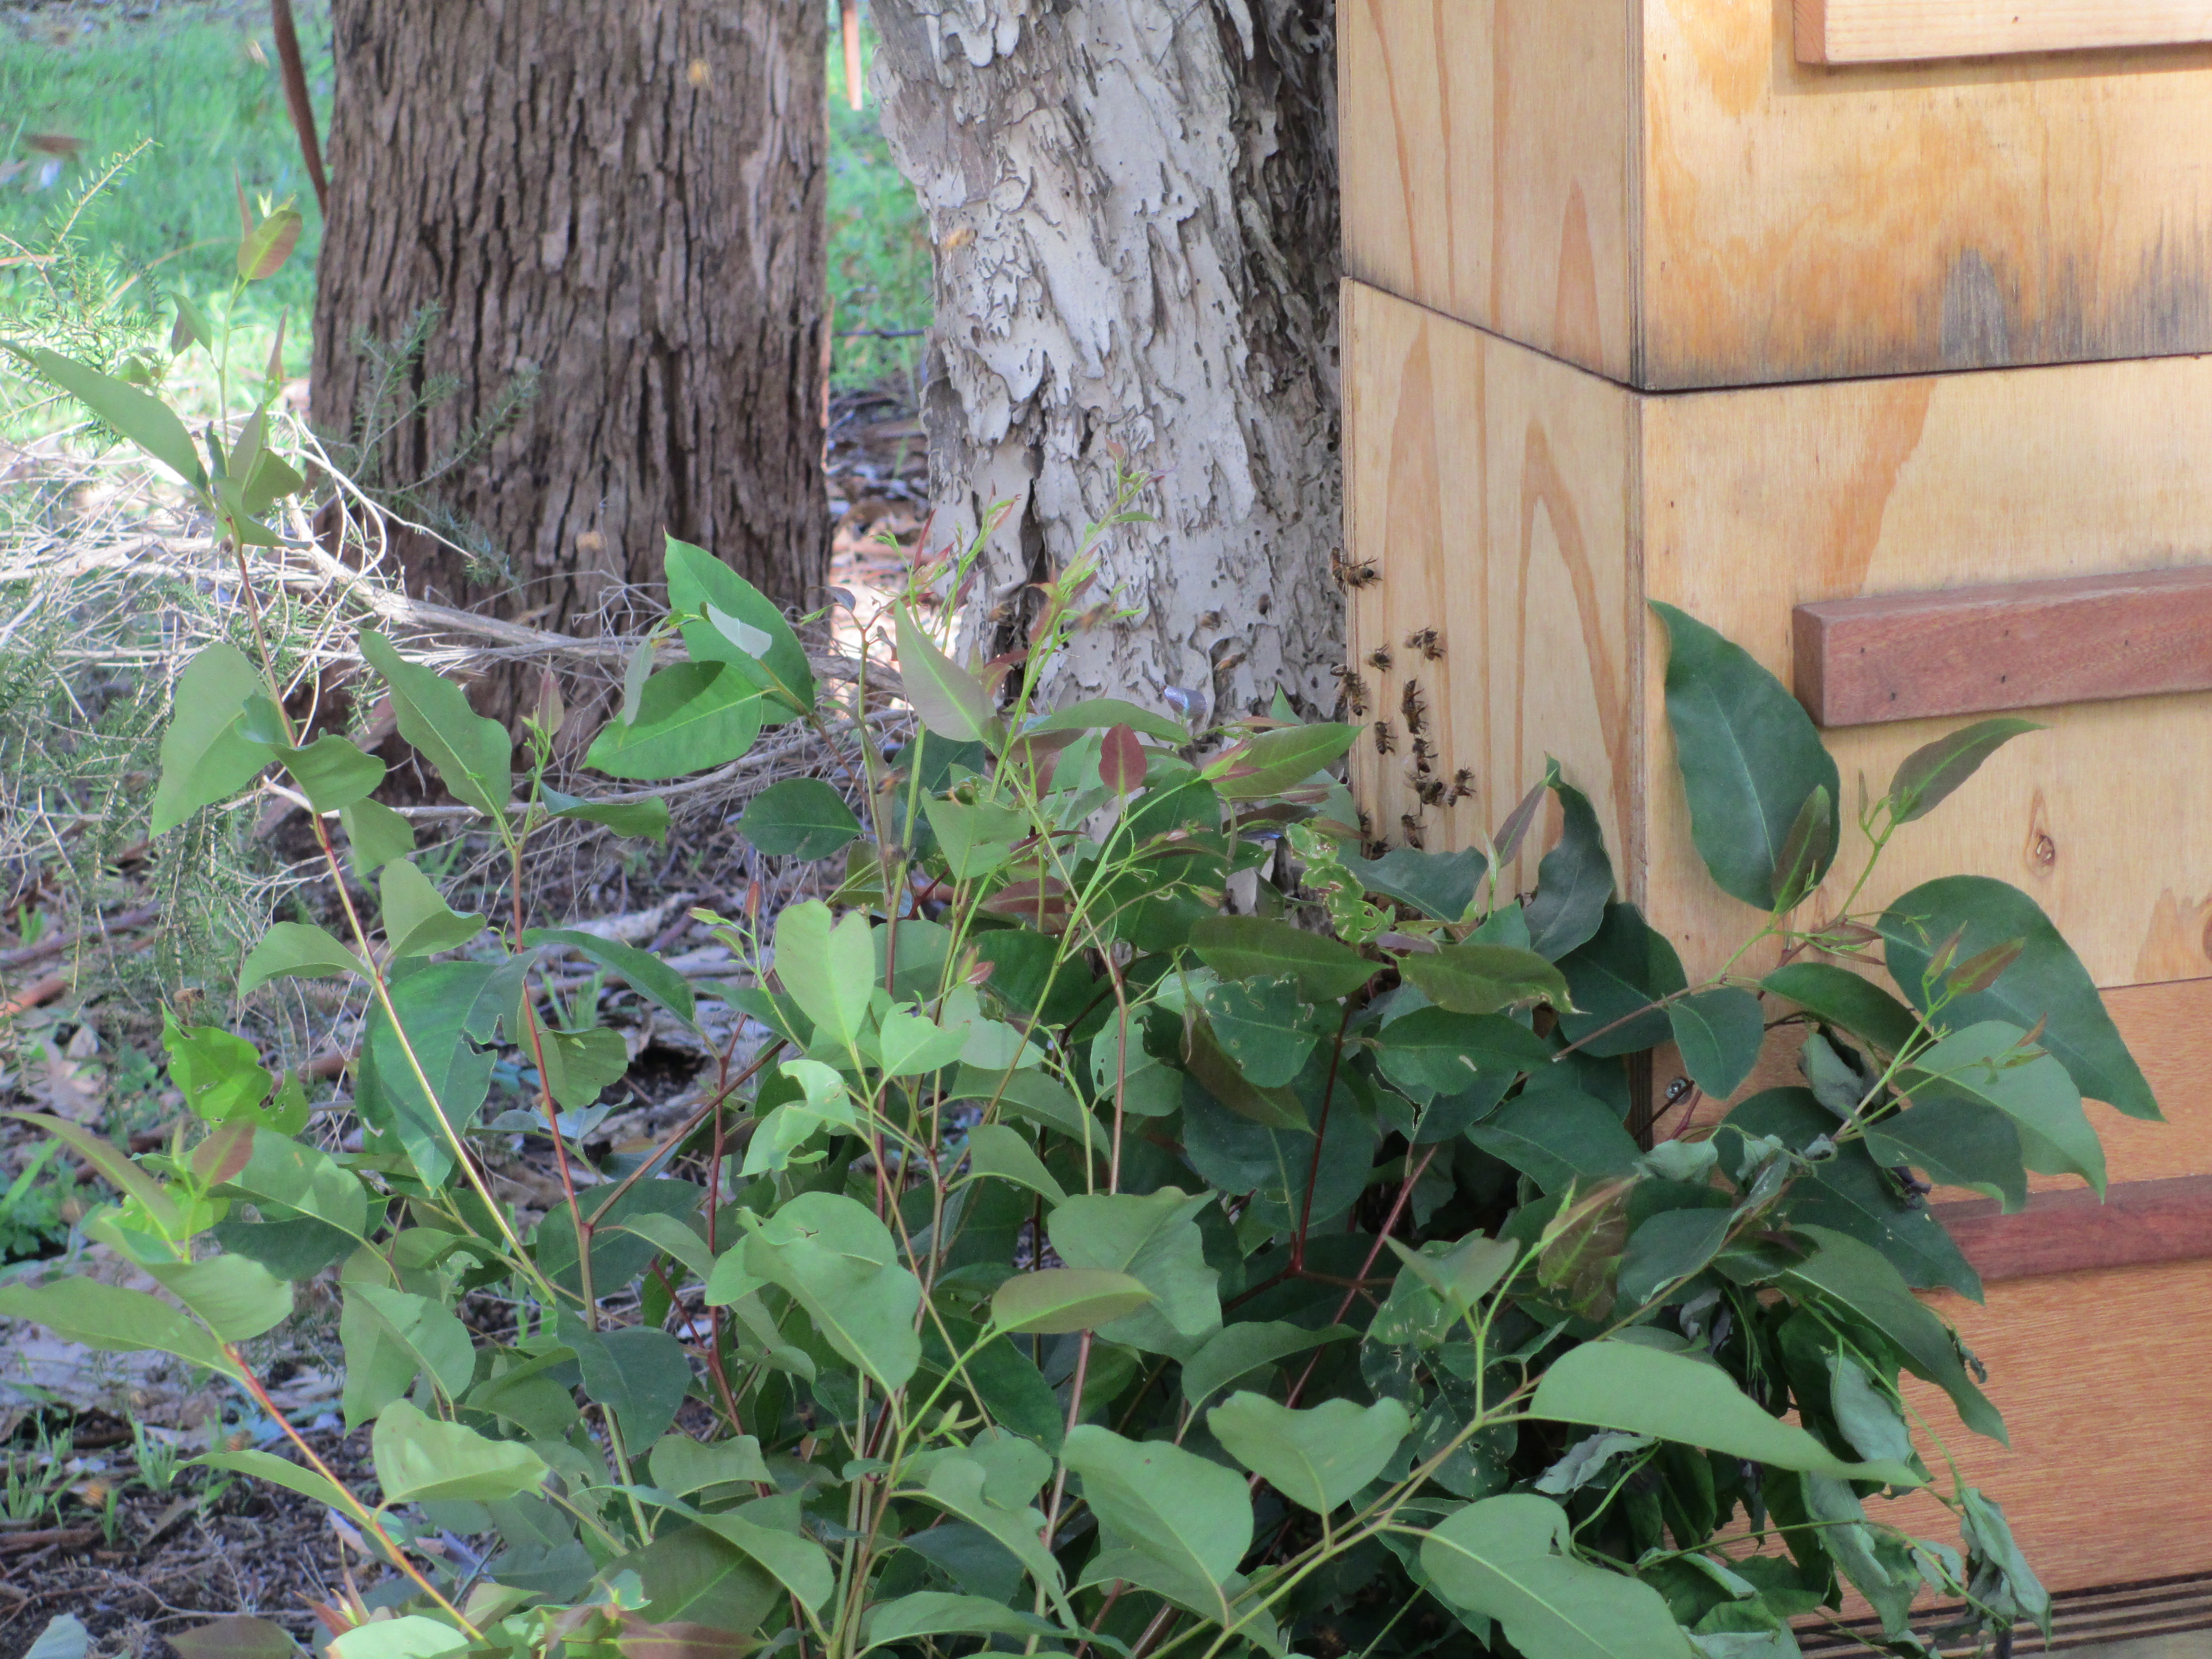
Bees first exit in their new location
Unfortunately there were a lot of dead bees too, but we hoped that ultimately the hive was better off for the move. Soon we saw lots of bees circling the old location near the kitchen window, looking for the hive, but within an hour or so they had gone, we hoped back to their new home.
Subsequent days there were more bees flying in the old location, but again only for a short time, hopefully they returned safely. The Warre is getting some lovely winter sun and hopefully drying out. In another day or so we will check it out and see how it is going. If necessary due to a loss of bees we can take the top box off and reduce the size. Fingers crossed!!